Sep 29, 2026
Screenshot Any App and Send It Straight to Your AI Agent
Getting a screenshot to an agent used to mean saving a file, marking it up in another app and dragging it into a terminal. Now one shortcut captures any app, and one click delivers the annotated image into one or several agents' prompts.
The bug is on your screen. Maybe it's a layout that breaks in the design tool, a stack trace in a browser console, a dialog in another app that renders the wrong label. Your agent is in a terminal, one window away, and it has no idea what you're looking at.
So you do the ritual. Press the system screenshot keys. Find the file on your Desktop, named after a timestamp. Open it in a preview app to draw an arrow on the part that matters. Save it again. Drag it into the terminal, or copy the path, or describe the problem in a paragraph because getting the image across felt like more work than typing. Then do the whole thing again for the second agent you wanted a second opinion from. By the end of the afternoon your Desktop is a pile of screenshots you'll never open again.
What changed
1DevTool v1.76.6 adds Screenshots, an opt-in extension that captures any app on your computer, lets you mark up the capture, and sends it straight into a running agent's prompt. You can now go from "look at this" to "your agent is looking at this" without saving a file, finding it again, or dragging anything around.
How it works in practice
Turn it on once, and only if you want it
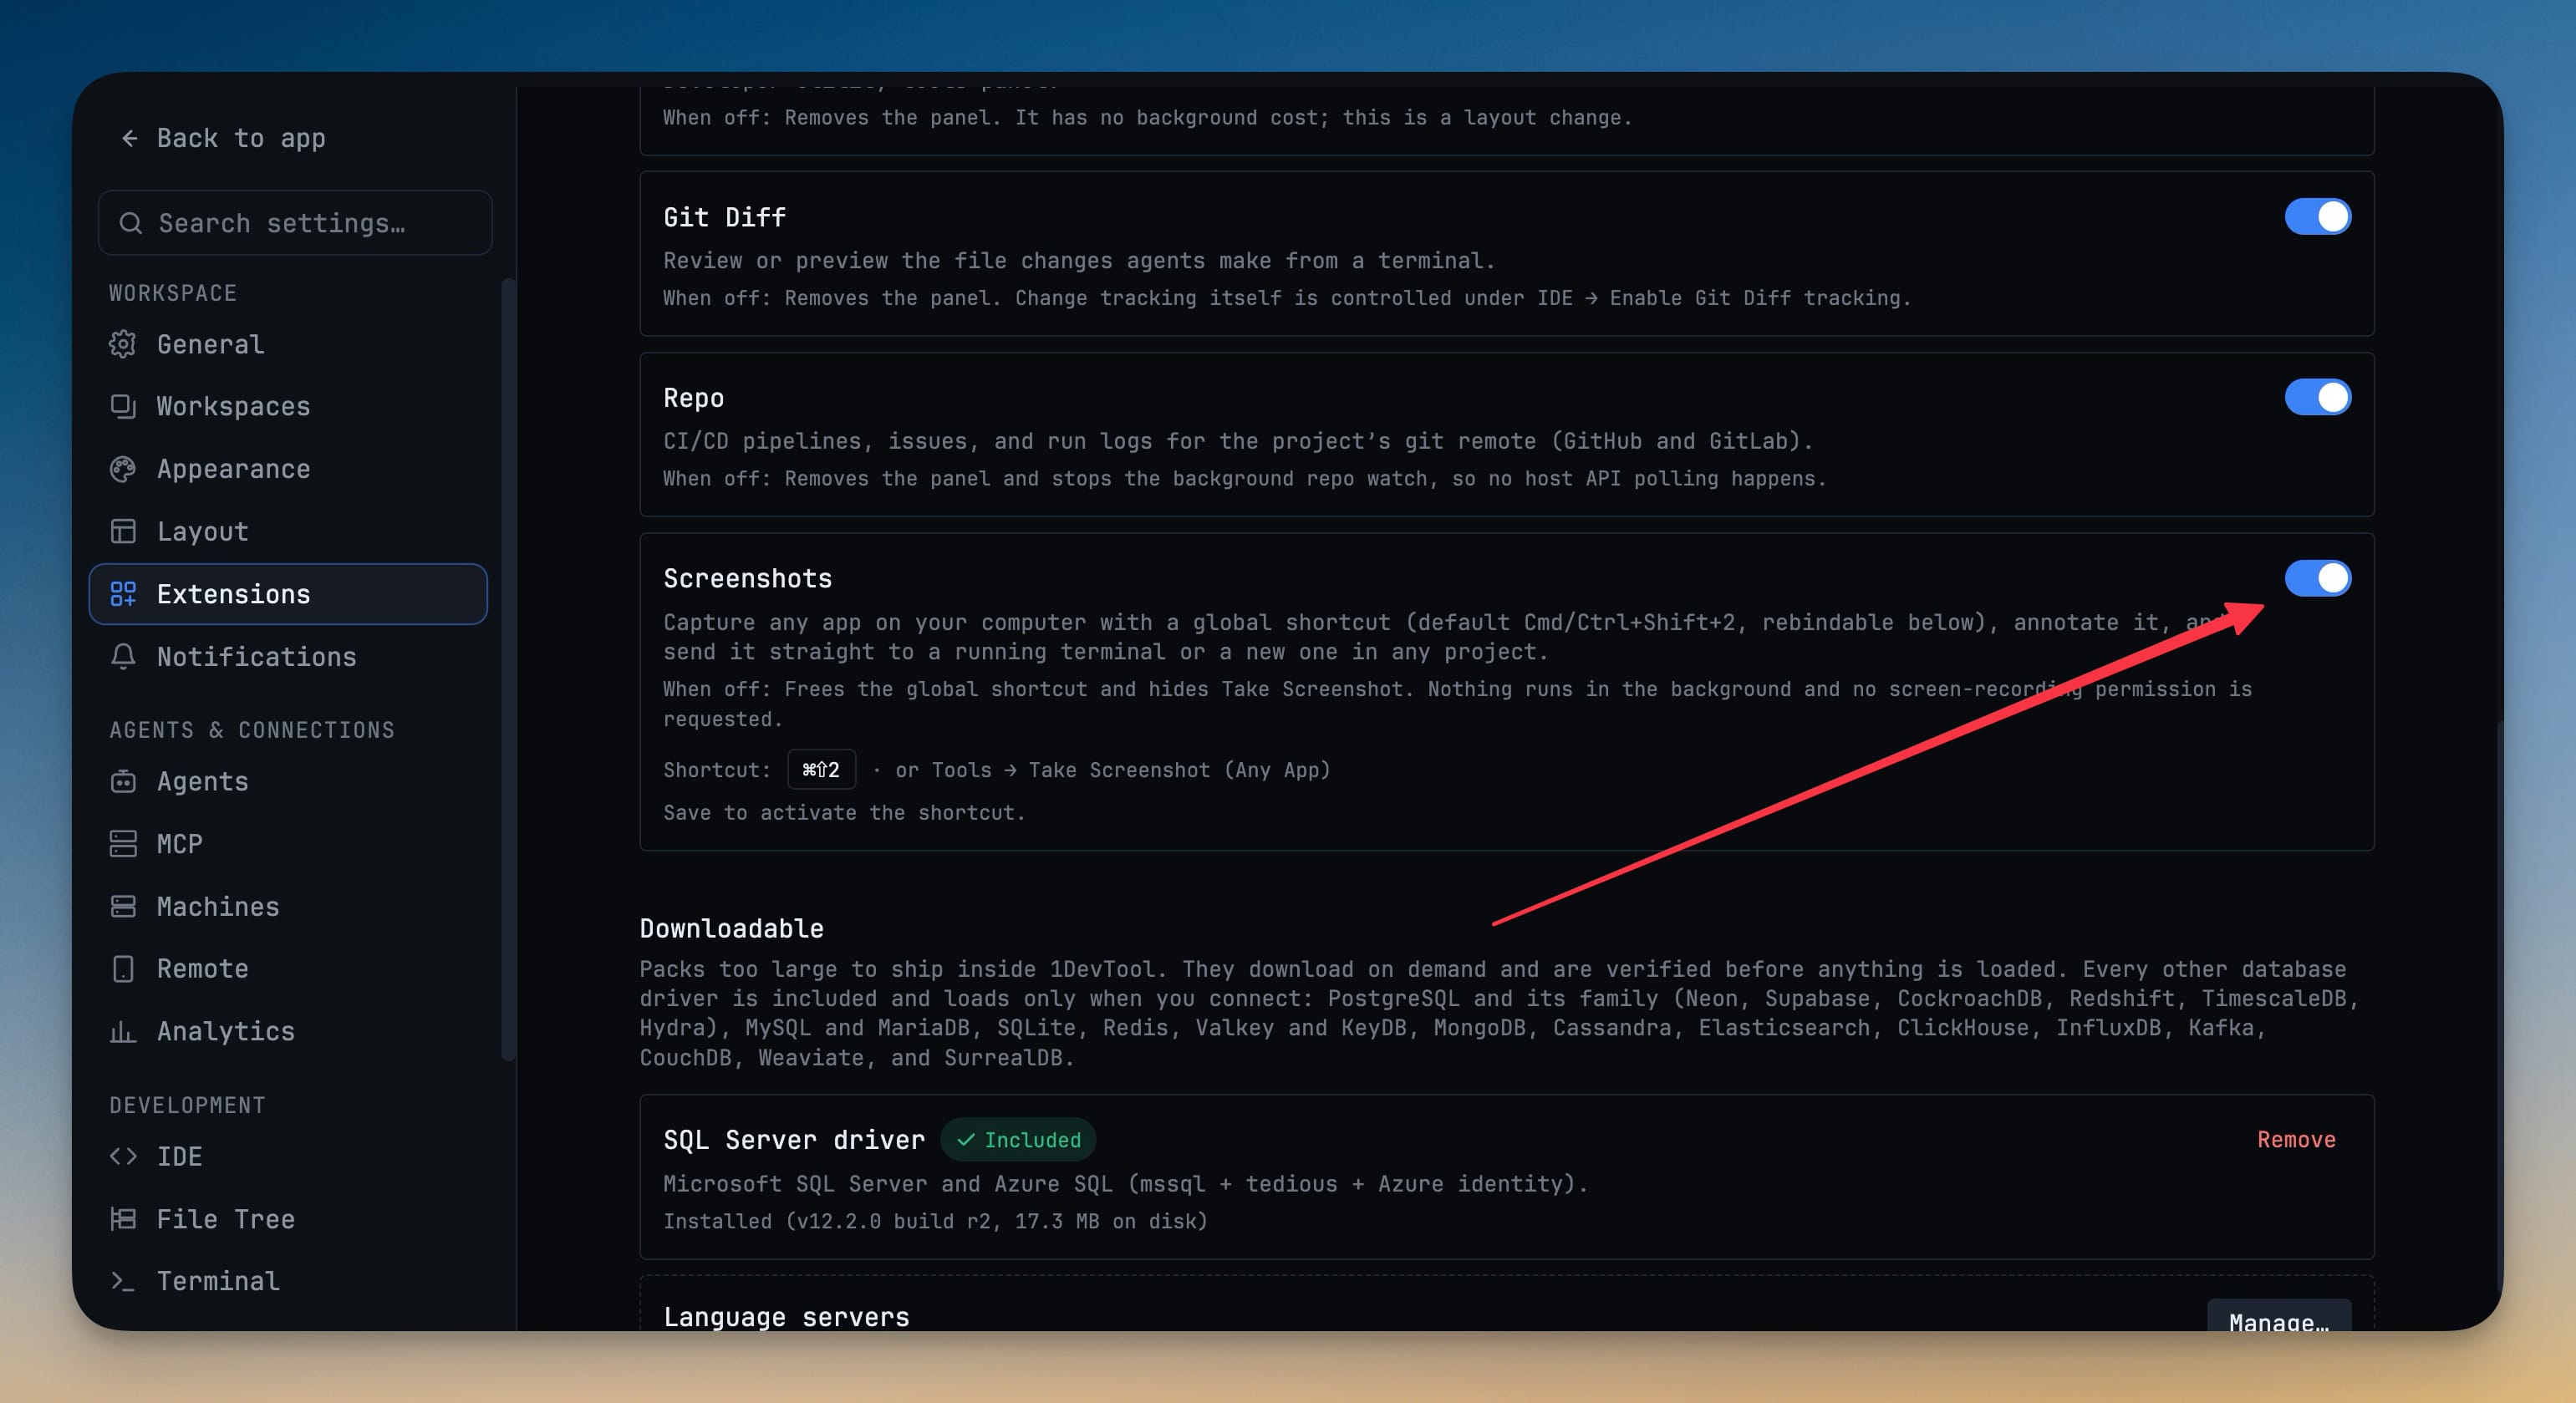
Screenshots lives in Settings → Extensions → Screenshots, next to the switches for the Browser panel, Git Diff and Repo. It is off by default, and that is deliberate: a feature that watches for a global shortcut and asks for screen-recording permission should not switch itself on through an update.
While it's off, nothing happens at all. No shortcut is registered, nothing runs in the background, the Tools menu entry is hidden, and 1DevTool never asks macOS for screen-recording permission. When you flip it on, you get a global shortcut (Cmd/Ctrl+Shift+2 by default) and a Take Screenshot (Any App) item in the Tools menu.
The default chord was picked because it isn't one of macOS's own screenshot shortcuts. If it collides with something else you use, click the shortcut in Settings and press the chord you want. It has to include a real modifier, since a bare letter would steal typing from every app. An invalid choice falls back to the default instead of leaving you with no shortcut.
Capture whatever is in front of you
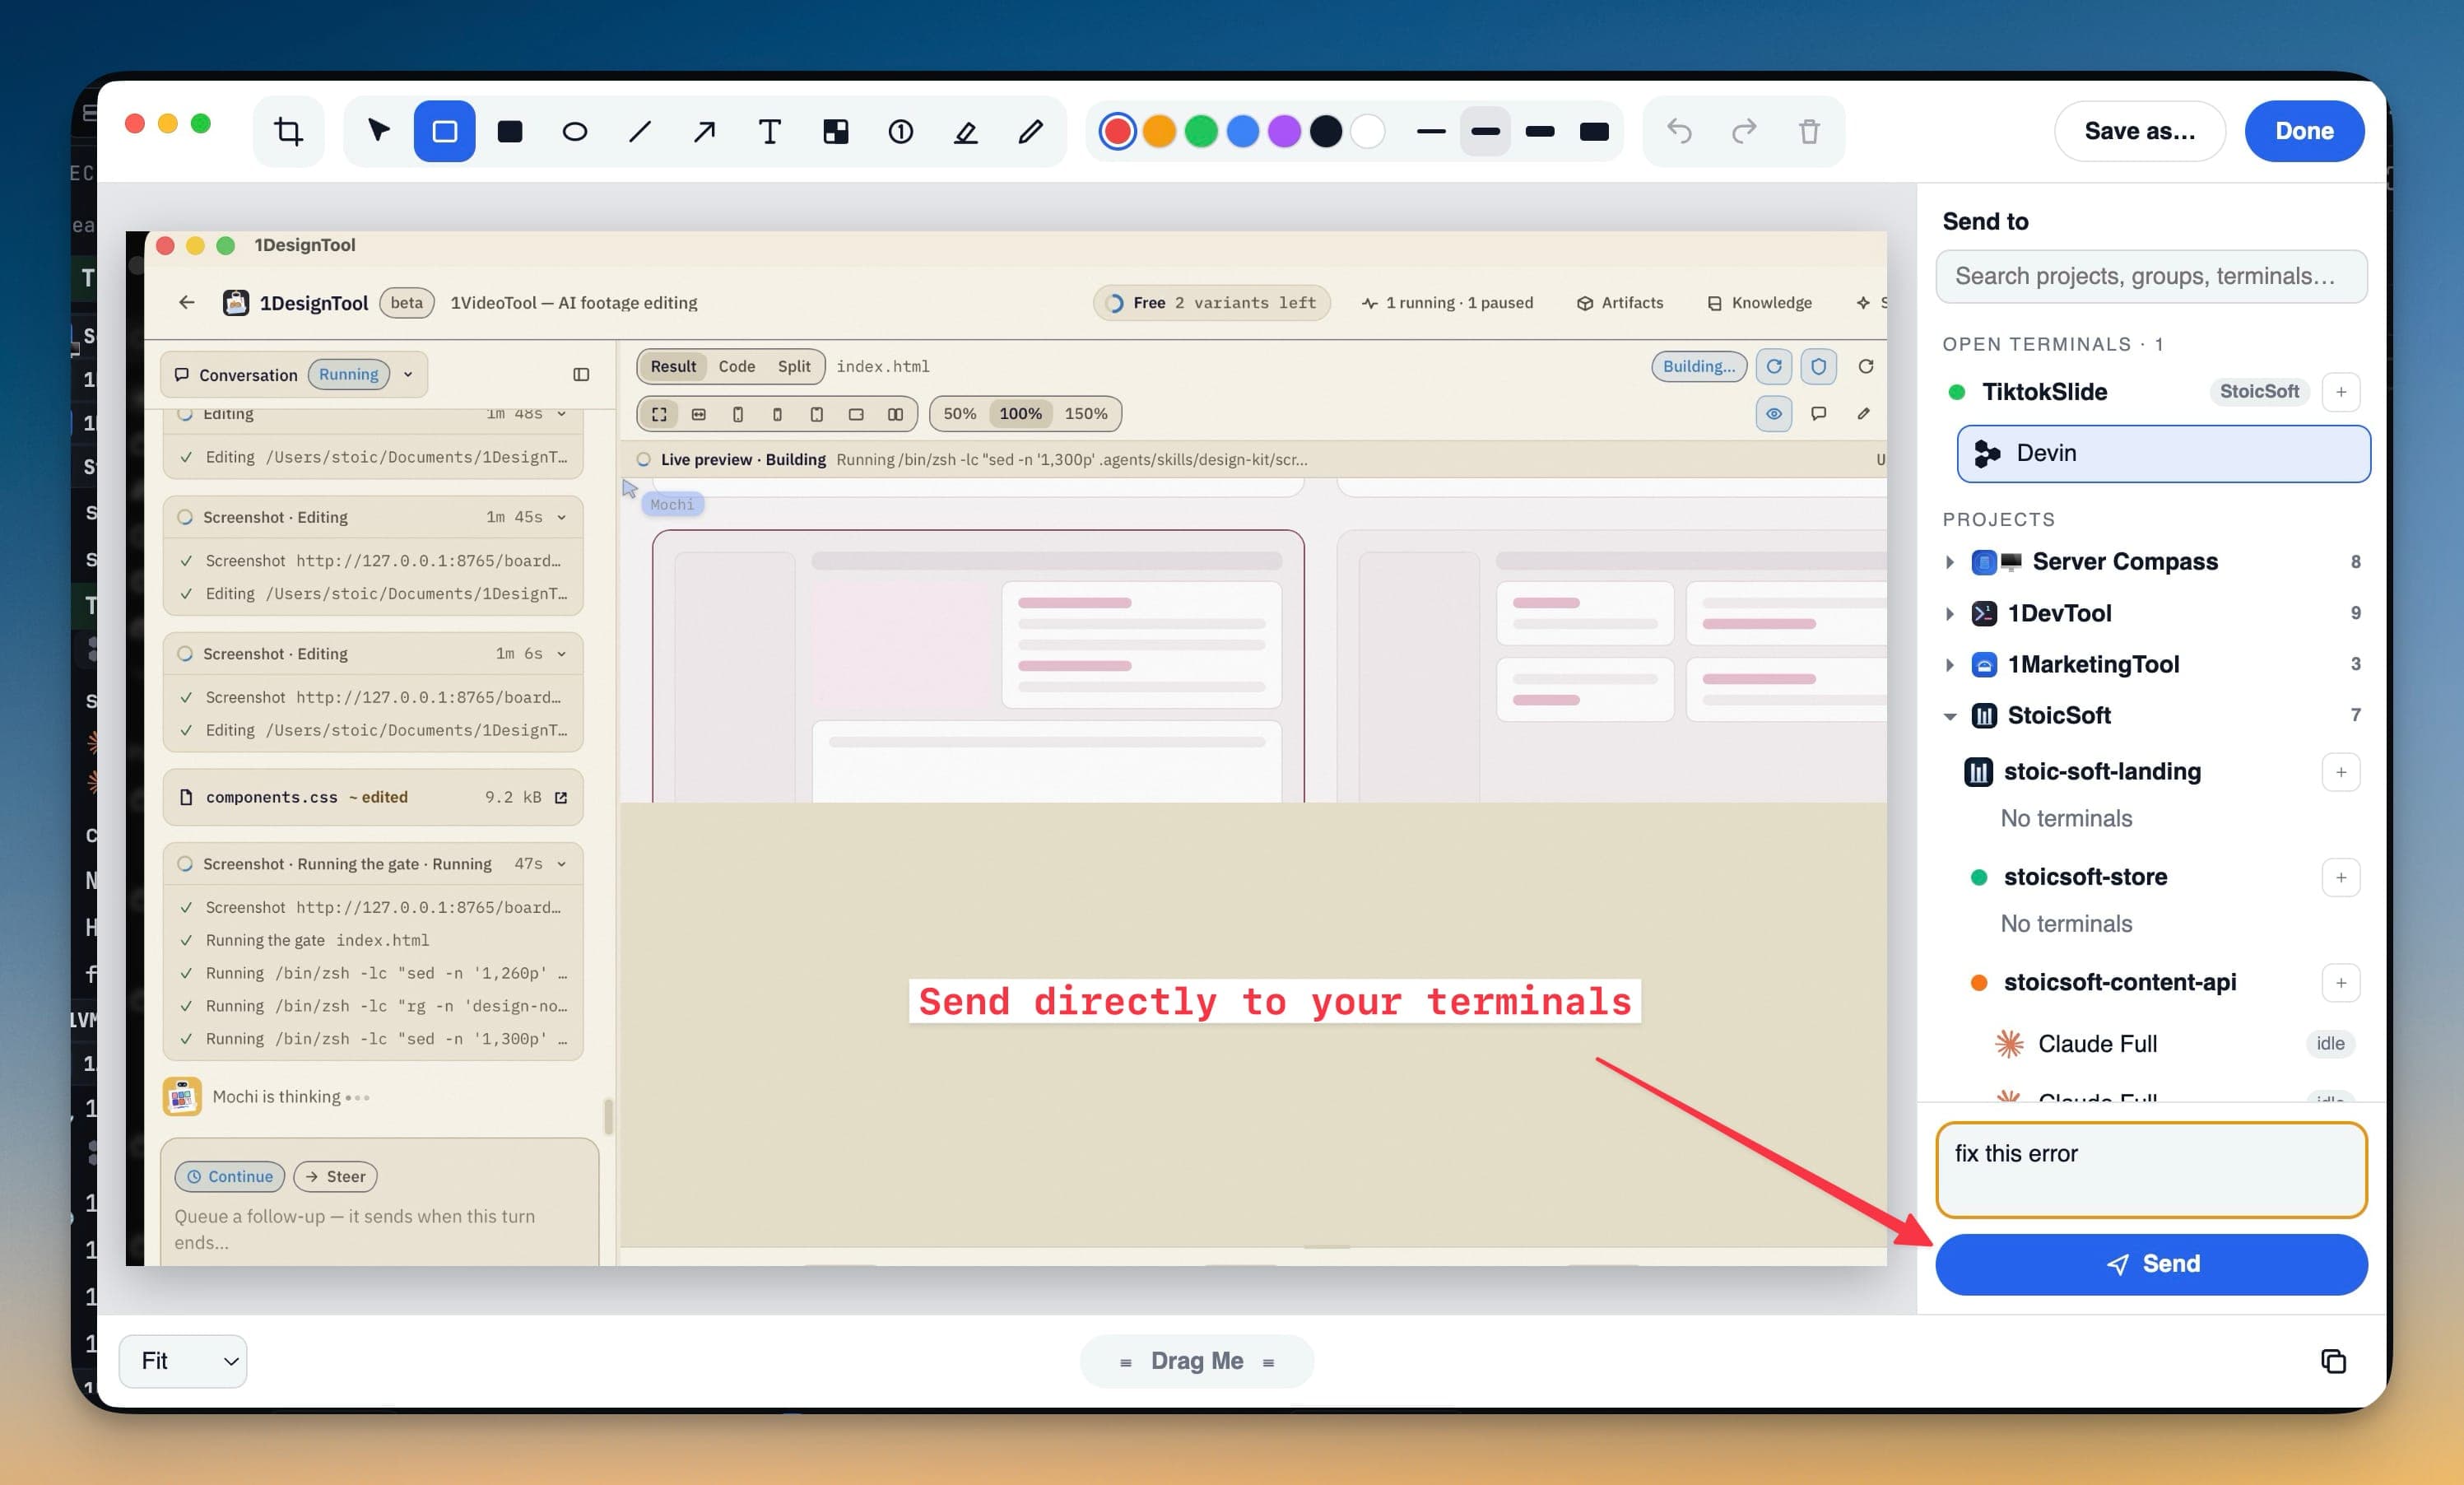
Press the shortcut from any app, not just 1DevTool. Every display freezes with a clean overlay, so the thing you wanted doesn't scroll away or close while you're aiming. Drag a region to capture part of the screen, press Enter to take the full screen, or press Esc to cancel without capturing anything. It works across multiple monitors, so the browser on your second display is as easy to grab as the editor on your laptop.
Mark it up so the agent knows where to look
The capture opens in a floating editor with the tools you would otherwise open a separate app for: crop, rectangle, filled rectangle, ellipse, line, arrow, text, pixelate, numbered badges, highlighter and pen. Pick a colour and stroke width, move or delete shapes, undo and redo, and zoom in when you need to be precise about a single pixel of misalignment.
This matters more for an agent than for a person. A colleague can guess what you mean from a full-screen capture. An agent will describe everything in the image and fix the wrong thing. An arrow and a two-word caption ("wrong padding") point it at the one detail you care about. Numbered badges let you say "fix 1, ignore 2" in the message. Pixelate hides the API key or customer email that happened to be on screen before the image leaves your machine.
If the image isn't for an agent, the editor is still a normal screenshot tool. Save as… writes it to a file, Done copies it to the clipboard and closes the editor, and Drag Me lets you drop the image straight into another app.
Send it to one agent, or to several
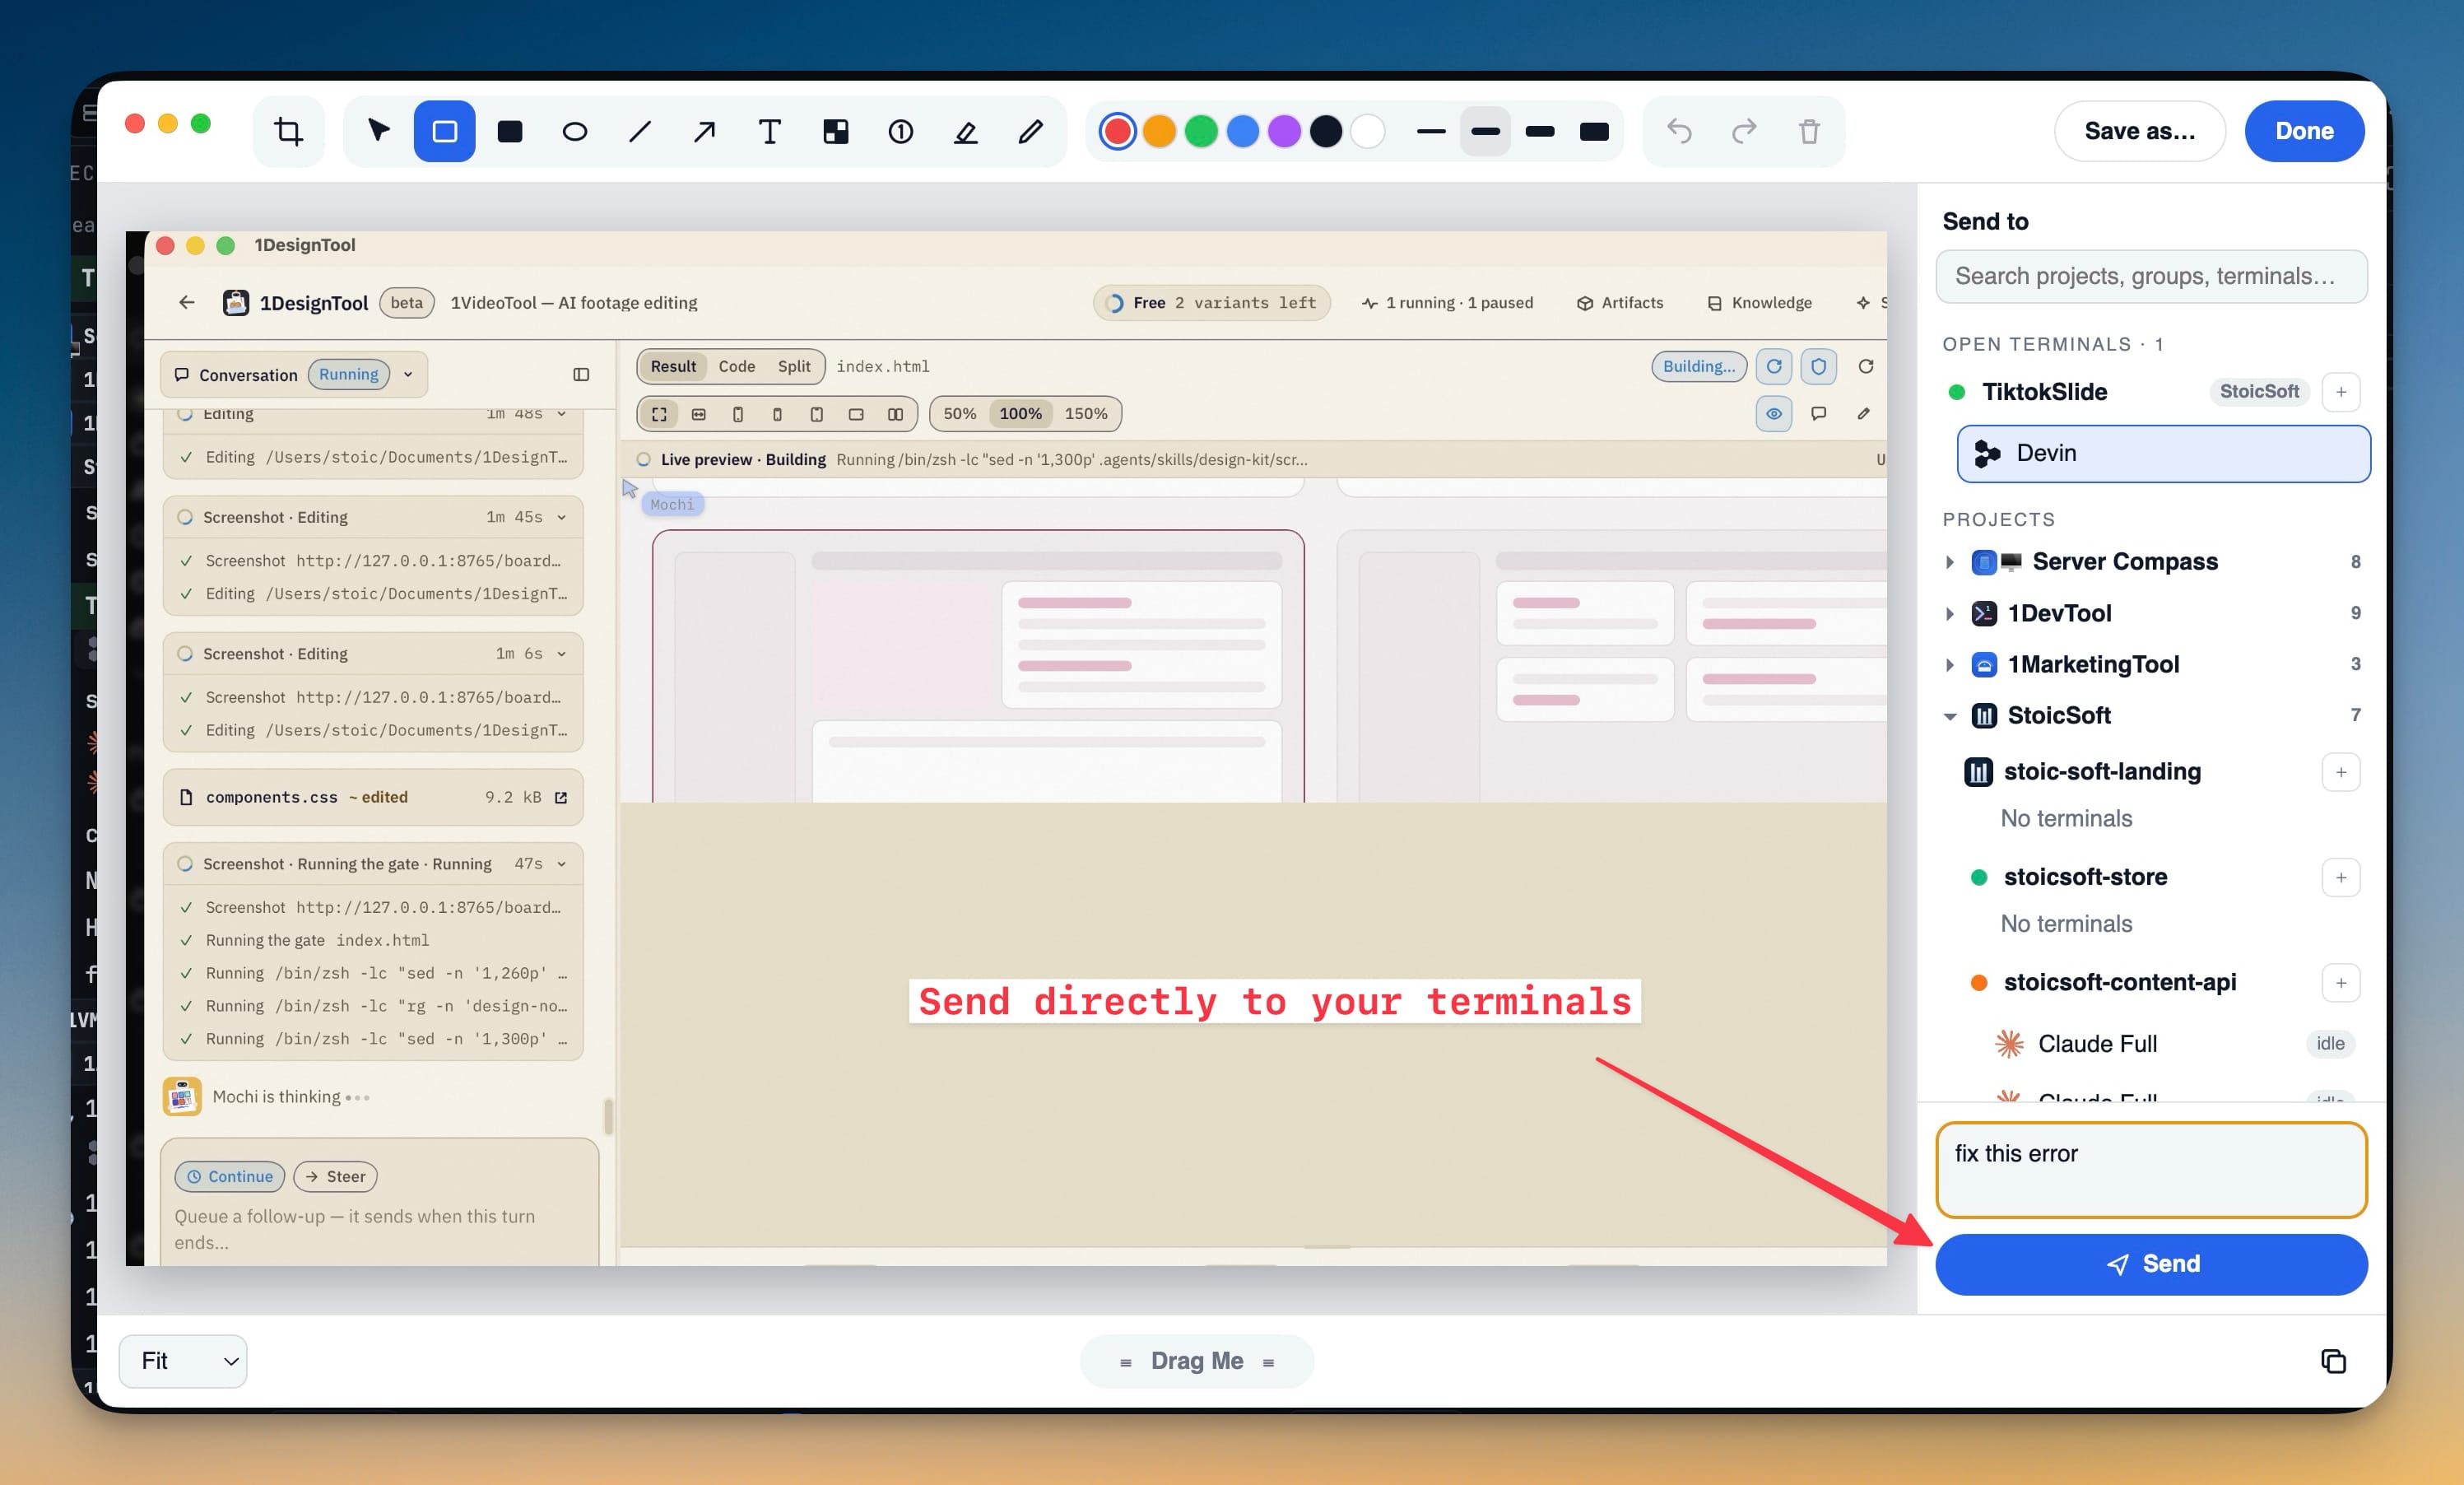
The right side of the editor is a Send to list of your terminals. Terminals with a live session are pinned at the top under Open terminals, each tagged with its group, so the agent you were just talking to is one click away. Every row shows the agent's logo and the project's avatar, so you can tell your Claude terminal from your Codex terminal at a glance.
Below that, Projects lists every other project in the same groups and order as your sidebar, so you don't have to relearn where anything is. A search box matches project names, group names, terminal names and agent types. Type "codex" and you get every Codex terminal across your projects.
Type an optional message, such as "fix this error", in the box above Send. The image lands in the agent's prompt with your message in front of it. If you leave the message empty, the agent gets a plain "please review the attached screenshot" instruction instead of a bare image. A terminal that isn't running yet is started for you, and the prompt waits until the agent is ready to receive it. A plain shell can't read an image, so it gets the file's quoted path at the prompt instead, ready for whatever command you want to run on it.
You're not limited to one target. Tick several terminals and the same screenshot goes to each of them. That's useful when you want Claude and Codex to look at the same broken screen, or when the frontend and backend agents both need to see the error.
Start a fresh agent for it
Sometimes the right agent doesn't exist yet. Click the + beside any project and 1DevTool opens the full Add Terminal dialog, the same one you use from the sidebar, with every agent, shell, machine, worktree and team option. Whatever terminal you create there receives the screenshot. Close the dialog without creating one and that target is simply dropped.
Before vs After
| Step | Before | With Screenshots |
|---|---|---|
| Capture | System shortcut, file saved to the Desktop | Cmd/Ctrl+Shift+2 over any app, any display |
| Mark up | Open the file in a separate app, draw, save again | Crop, arrows, text, pixelate and badges in the floating editor |
| Get it to the agent | Find the file, drag it or paste its path into the terminal | Click the terminal in Send to |
| Explain it | Switch to the terminal and type the message | Type it in the editor, next to the image |
| Second agent | Repeat everything | Tick a second terminal |
| No terminal open yet | Create it first, then come back to the image | + on the project, pick the agent, the image follows |
| Cleanup | Delete the Desktop screenshots, eventually | Nothing to clean up |
Who benefits most
Frontend developers spend their day comparing what the page looks like with what it should look like. A cropped capture with an arrow on the broken element gets a better fix than any paragraph describing it.
People running several agents at once can hand the same evidence to two or three terminals in one send, and compare what each agent does with it, without repeating the capture.
Anyone debugging something outside the editor, like a browser console, a desktop app, a dashboard or an error dialog, now has a direct path from that screen into the terminal where the fix will happen.
Try it
Update to 1DevTool v1.76.6, open Settings → Extensions, and switch on Screenshots. The next time something looks wrong on your screen, press Cmd/Ctrl+Shift+2, draw one arrow, and send it to the agent that should fix it. Showing is usually faster than explaining, and now it's also the shorter path.