पहला AI Agent जोड़ें
Project के अंदर Claude Code, Codex, या Gemini launch करें और AI के साथ build करना शुरू करें।
Project खुला हो तो कुछ ही clicks में AI agent launch कर सकते हैं। यह page पहला AI terminal खोलने, पहला prompt type करने, और यह समझने में मदद करती है कि एक साथ कई agents चलाना 1DevTool की सबसे बड़ी ताकत क्यों है।
AI Terminal क्या है?
AI Terminal एक regular terminal window है जो automatically आपका AI agent शुरू करने के लिए pre-configured होती है। जब आप "Claude Code terminal" जोड़ते हैं, 1DevTool आपके project folder में terminal खोलता है और आपके लिए claude चला देता है। Agent तुरंत तैयार हो जाता है — files पढ़ने, code लिखने, commands चलाने और सवालों के जवाब देने के लिए।
कोई startup command type नहीं करना। सही folder में navigate नहीं करना। 1DevTool सब handle करता है ताकि आप सीधे build करने में लग सकें।
शुरू करने से पहले: Machine पर कम से कम एक AI agent CLI installed होनी चाहिए। इंस्टॉल करने का तरीका:
Claude Code:
npm install -g @anthropic-ai/claude-codeCodex:
npm install -g @openai/codexGemini CLI:
npm install -g @google/gemini-cliकौन से से शुरू करें यह तय नहीं है, तो Claude Code एक बेहतरीन पहला विकल्प है।
Terminal जोड़ें
1DevTool में project खुला हो तो:
- Terminal panel ढूंढें — workspace का वो section जहां terminals रहते हैं, आमतौर पर screen का main area।
- Terminal panel header में + button click करें। यह "add terminal" button है।
- खोलने वाले terminal type के options दिखेंगे। इनमें से चुनें:
- Claude Code — project folder में
claudeशुरू करता है - Codex — OpenAI Codex शुरू करता है
- Gemini CLI — Google का Gemini CLI शुरू करता है
- Bash — बिना AI agent का plain terminal, commands चलाने के लिए
- Custom command — terminal खुलने पर कोई भी command चलाएं
- Claude Code — project folder में
- Terminal खुलता है और agent शुरू हो जाता है। Agent का startup banner और पहले message का prompt दिखेगा।

पहला Prompt Type करें
Terminal के अंदर कहीं भी click करें ताकि focus हो, फिर plain English में अपना request type करें। AI agents natural language समझते हैं — कोई special syntax या command याद करने की ज़रूरत नहीं।
कुछ examples:
Build a REST API endpoint that returns the current time as JSONAdd input validation to the signup form in src/components/SignupForm.tsxExplain what the code in utils/db.js doesWrite unit tests for the functions in lib/helpers.py
Prompt भेजने के लिए Enter दबाएं। Agent project की files पढ़ेगा, क्या करना है समझेगा, और काम शुरू कर देगा। Real time में सोचते, plan बनाते और changes करते देखेंगे।
अगर agent कोई clarifying question पूछे या change करने से पहले confirm करे, तो बस जवाब type करें और Enter दबाएं।
एक साथ Multiple Agents चलाएं
यहीं पर 1DevTool regular terminal में काम करने से सच में अलग हो जाता है।
जितने चाहें AI terminals खोलें, सब एक साथ, सब parallel में project पर काम करते हुए। Focused work session के लिए common setup:
- Terminal 1 — Feature agent (Claude Code): "Build me a user authentication system with login, logout, and session management"
- Terminal 2 — Test agent (Claude Code): "Write end-to-end tests for the authentication flow as it gets built"
- Terminal 3 — Dev server (Bash):
npm run devचला रहा है ताकि embedded browser में changes live देख सकें - Terminal 4 — Codex (second opinion के लिए): Changes review कर रहा है और improvements suggest कर रहा है
चारों एक साथ चलते हैं। जब feature agent auth code लिख रहा है, test agent पहले से tests लिख रहा है। Dev server चलता रहता है। सब कुछ real time में होते देखते हैं।
1DevTool के बिना इस तरह का parallel workflow अफरातफरी होती — चार अलग terminal windows desktop पर बिखरे, कोई संगठन नहीं। 1DevTool के अंदर, clean grid layout में चारों दिखते हैं, हर एक labeled, हर एक उसी project से scoped।
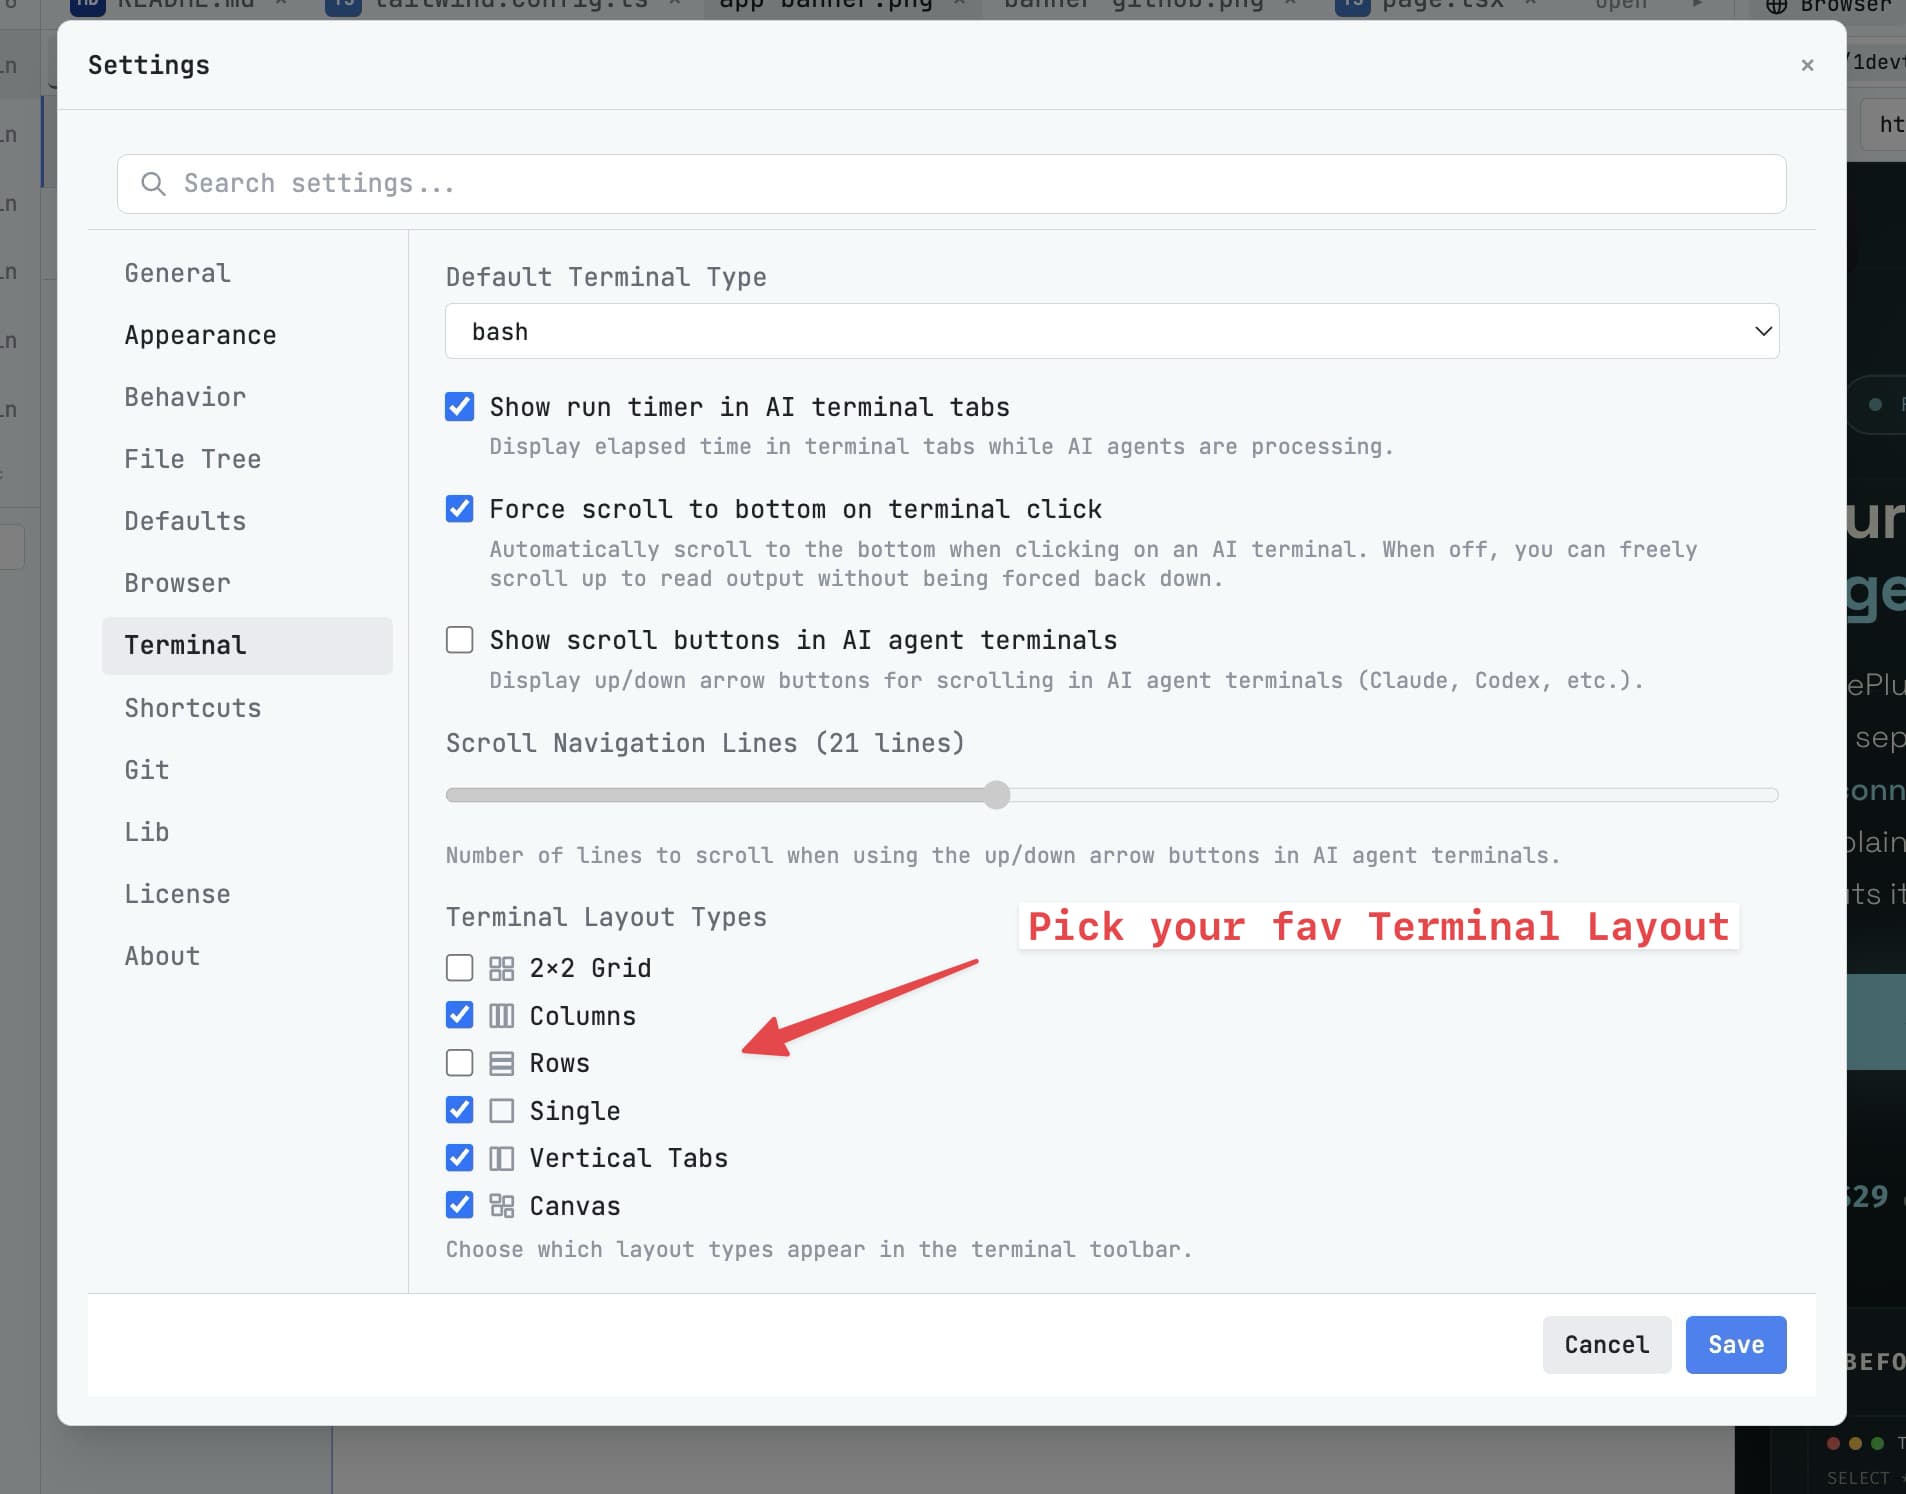
Terminals के बीच dividers drag करके resize कर सकते हैं। अपने workflow के लिए जैसे अच्छा लगे arrange करें — दो side by side, चार grid में, या एक बड़ा terminal नीचे एक छोटे के साथ।
अगला कदम
AI agent चल रहा है। Workspace के बाकी हिस्से explore करें और देखें 1DevTool और क्या कर सकता है।