Commit और Push
फ़ाइलें stage करें, commit message हाथ से या AI agent की मदद से लिखें, और कुछ clicks में अपने remote पर push करें।
जब आप diff को review कर लें और AI agent द्वारा किए गए बदलावों से संतुष्ट हों, तो commit और push करने का समय आ गया है। यह guide आपको staging से लेकर अपनी remote repository पर push करने तक के पूरे workflow से परिचित कराती है।
Changes Stage करें
Staging आपको यह चुनने देता है कि कौनसे changes इस commit में जाएँगे। उदाहरण के लिए, आप शायद feature code को अलग commit करना चाहें, config change से अलग।
Git panel में, हर modified file Unstaged Changes section में दिखाई देती है:
- किसी file को individually stage करने के लिए उसके बगल में checkbox check करें
- सभी changed files को एक साथ stage करने के लिए Stage All पर click करें
- किसी file को unstage करने के लिए, उसे uncheck करें — वह वापस Unstaged में चली जाएगी
Staged files sidebar के सबसे ऊपर Staged Changes section में चली जाती हैं। केवल staged files ही commit में शामिल होंगी।
आप individual hunks (file के sections) को भी पूरी file के बजाय stage कर सकते हैं। diff view में, किसी hunk पर hover करें और जो + button दिखाई दे उस पर click करें — इससे केवल वही section stage होगा। यह तब काम आता है जब किसी file में दो unrelated changes हों और आप अभी केवल एक को commit करना चाहें।
Commit Message लिखें
जब files staged हो जाएँ, Git panel के नीचे text field में अपना commit message टाइप करें।
एक अच्छा commit message आपकी history को readable बनाता है — आपके भविष्य के स्वयं और project में किसी अन्य के लिए भी। कुछ tips:
- Imperative tense का प्रयोग करें —
Add login formलिखें,Added login formयाAdding login formनहीं - यह बताएँ कि क्या बदला और क्यों —
Fix null check in user.tsfix bugसे ज़्यादा useful है - पहली line को 72 characters से कम रखें — ज़्यादातर git tools list view में लंबे messages को truncate कर देते हैं
- ज़रूरत पड़ने पर body जोड़ें — पहली line के बाद दो बार Enter दबाएँ, फिर नीचे लंबी explanation जोड़ें
Clear commit messages के examples:
Add email validation to signup formFix crash when user list is emptyUpdate API base URL for production
Agent को लिखने दें
Commit summary में sparkle button आपका diff installed AI CLI को देता है और उससे message मांगता है।
- यह तय करें कि कौनसा agent लिखे, या 1DevTool को पहला installed agent use करने दें।
- कोई style चुनें: Conventional, Plain, या Gitmoji।
- अभी तक कुछ staged न हो, तो यह working-tree diff पर fall back करता है — तो आप stage करने से पहले ही message ला सकते हैं।
Result message field में बतौर ordinary editable text आता है। यह एक draft है, commit नहीं।
Commit
Message field के नीचे Commit button पर click करें। Staged changes आपकी local git history में नए commit के रूप में save हो जाते हैं, और staged files section clear हो जाता है।
Commit अब आपकी branch history में दिखाई देता है। अगर इसे undo करना हो, history view में commit पर right-click करें और Undo Commit चुनें — इससे changes आपकी unstaged files में वापस आ जाते हैं, बिना खोए।
Remote पर Push करें
Commit करने से changes local में save हो जाते हैं। उन्हें GitHub, GitLab, या अपने अन्य remote पर भेजने के लिए:
- Git panel toolbar में Push button पर click करें (up-arrow icon)
- अगर branch पहले से remote पर मौजूद है, तो आपके commits तुरंत push हो जाते हैं
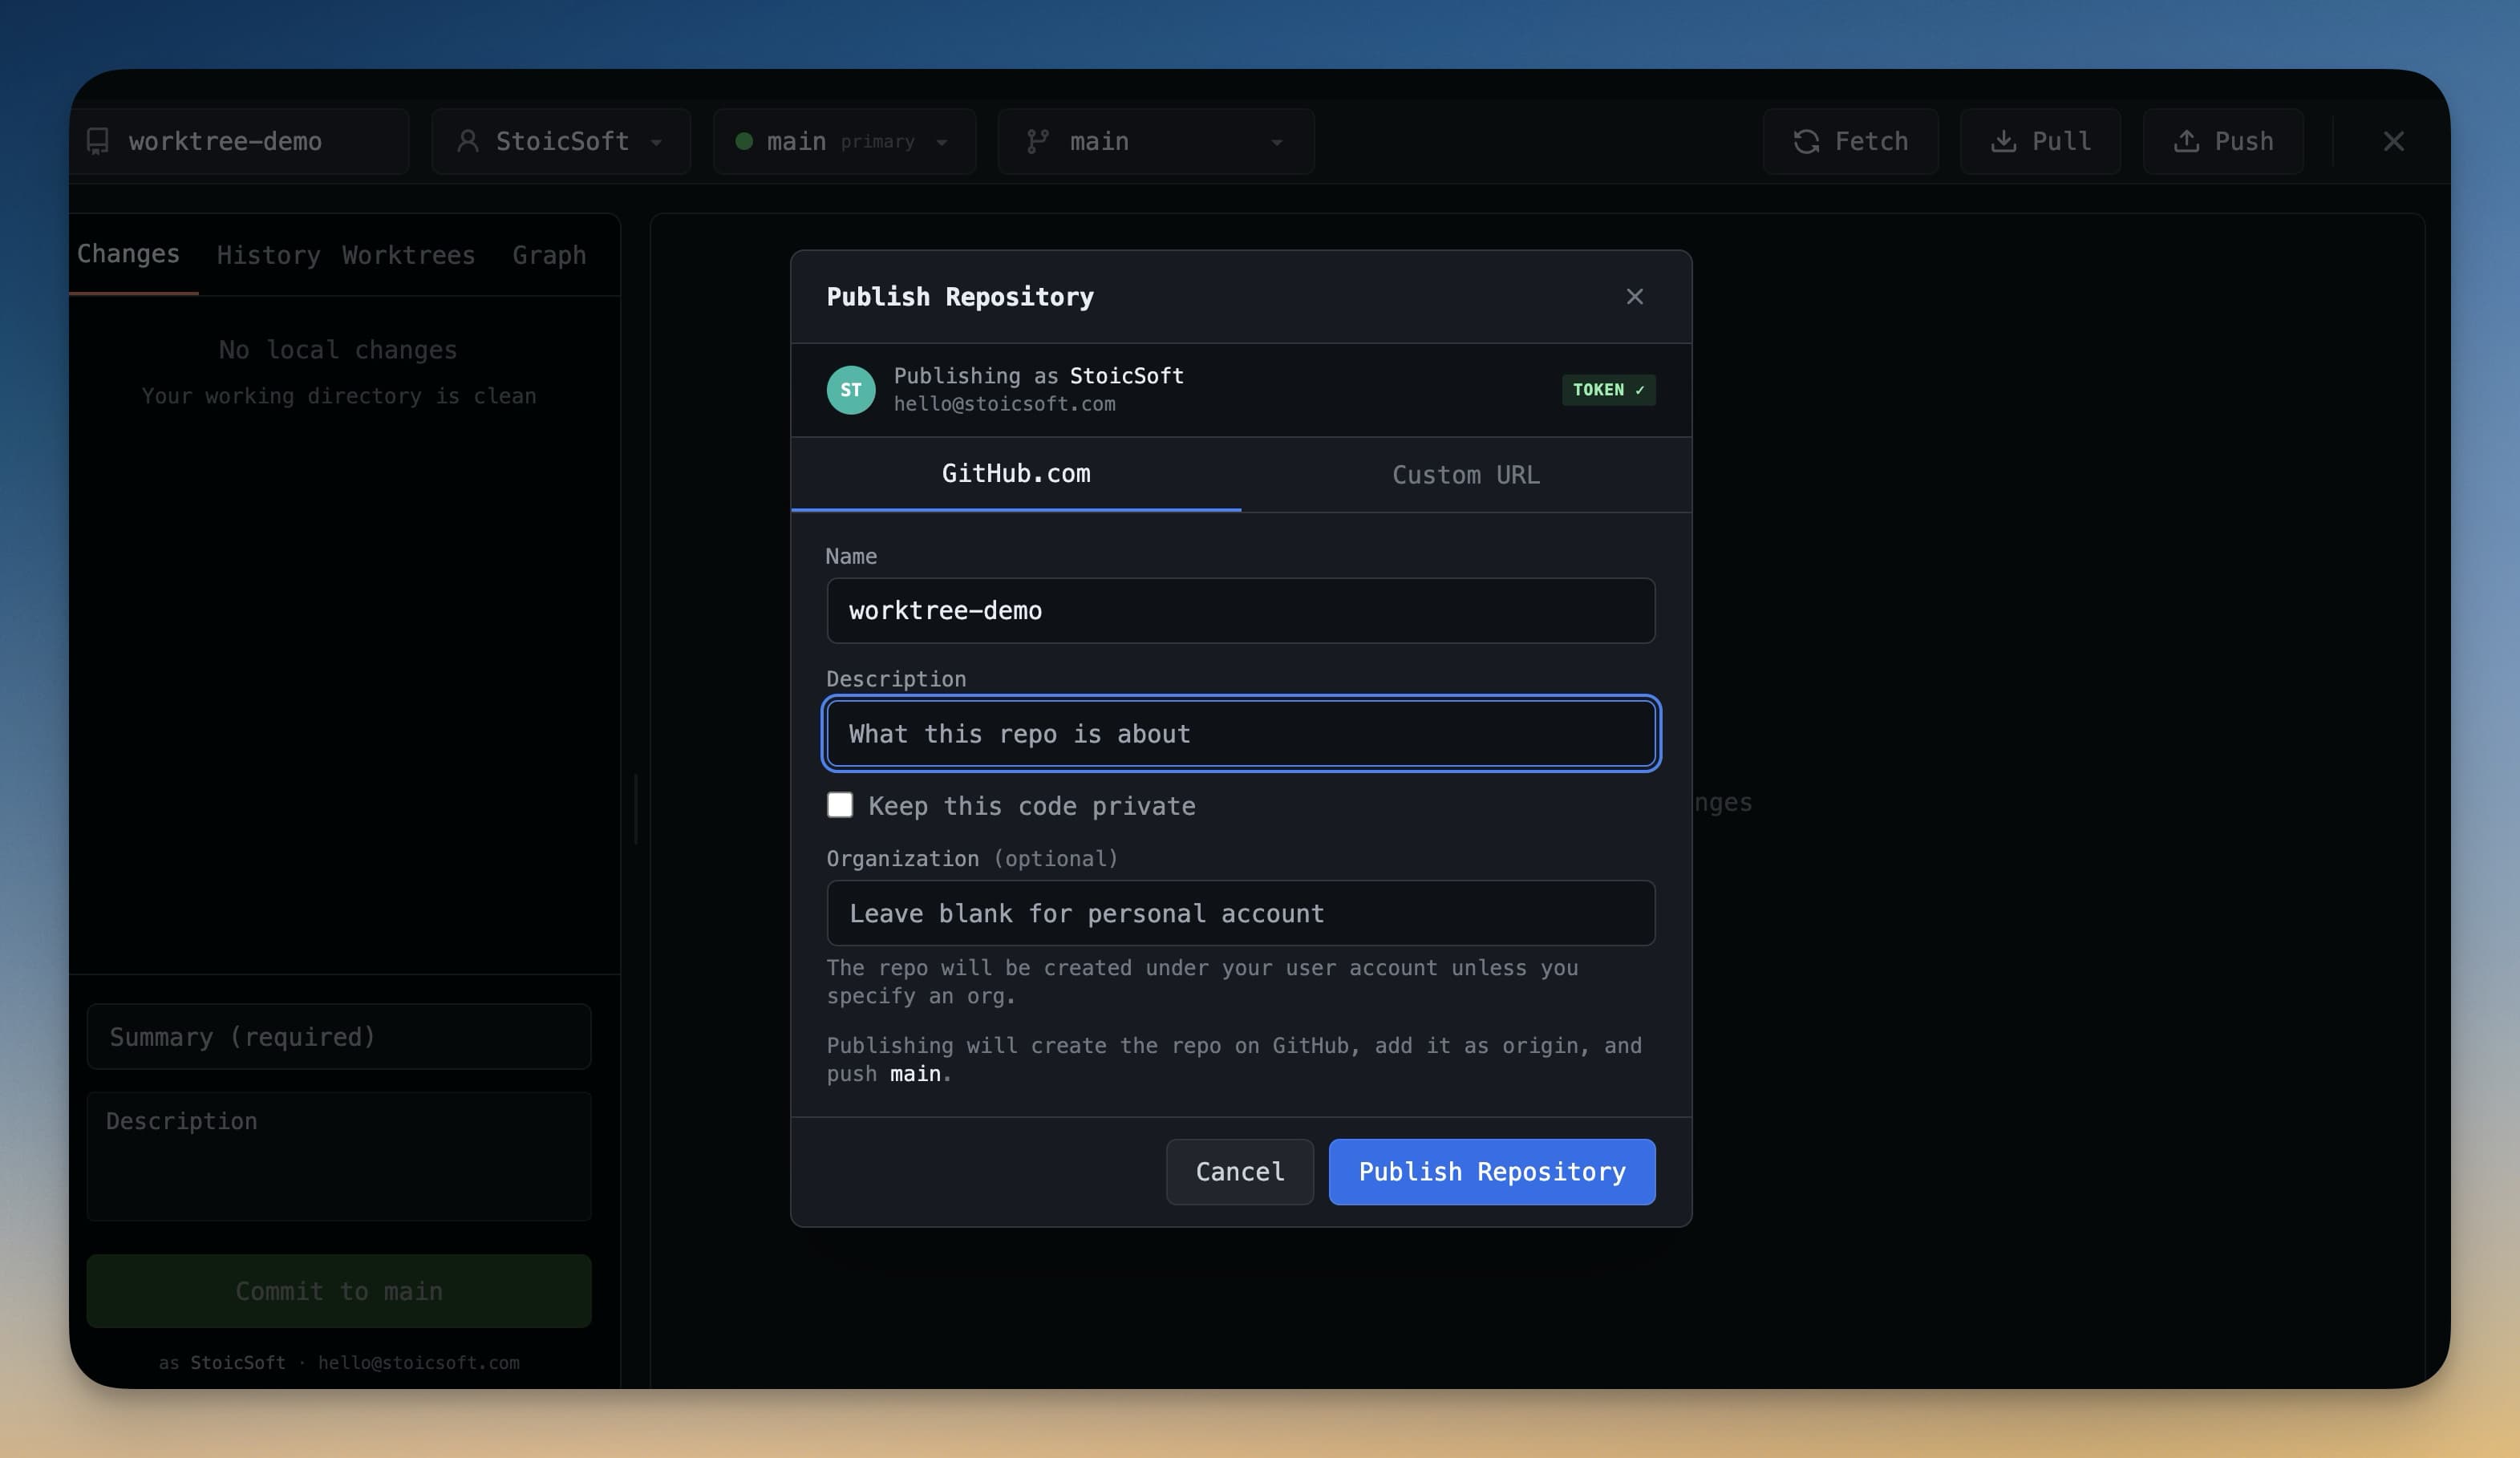
- अगर यह एक new branch है जो अभी तक remote पर नहीं है, तो Publish Branch पर click करें — इससे branch remote पर बनती है और आपके commits push हो जाते हैं
अगर credentials मांगे जाएँ, तो आप उन्हें enter कर सकते हैं या SSH key authentication पर switch कर सकते हैं। अपने GitHub account को connect करने का तरीका जानने के लिए — ताकि credentials अपने आप handle हों — Git Accounts देखें।
Changes Pull करें
Remote से changes लाने के लिए (उदाहरण के लिए, अगर किसी teammate ने कुछ push किया हो):
- Toolbar में Pull button (down-arrow icon) पर click करें
- Remote changes fetch होकर आपकी local branch में merge हो जाते हैं
अगर merge conflicts हों, तो Git panel conflicting files को highlight करता है। हर file को open करके conflict resolve करें, फिर resolution को stage और commit करें।
Push करने के बाद, आपके changes remote पर हैं और आपकी team के लिए available हैं या pull request के लिए तैयार हैं। Git panel दिखाता है कि आपकी branch remote के साथ up to date है।