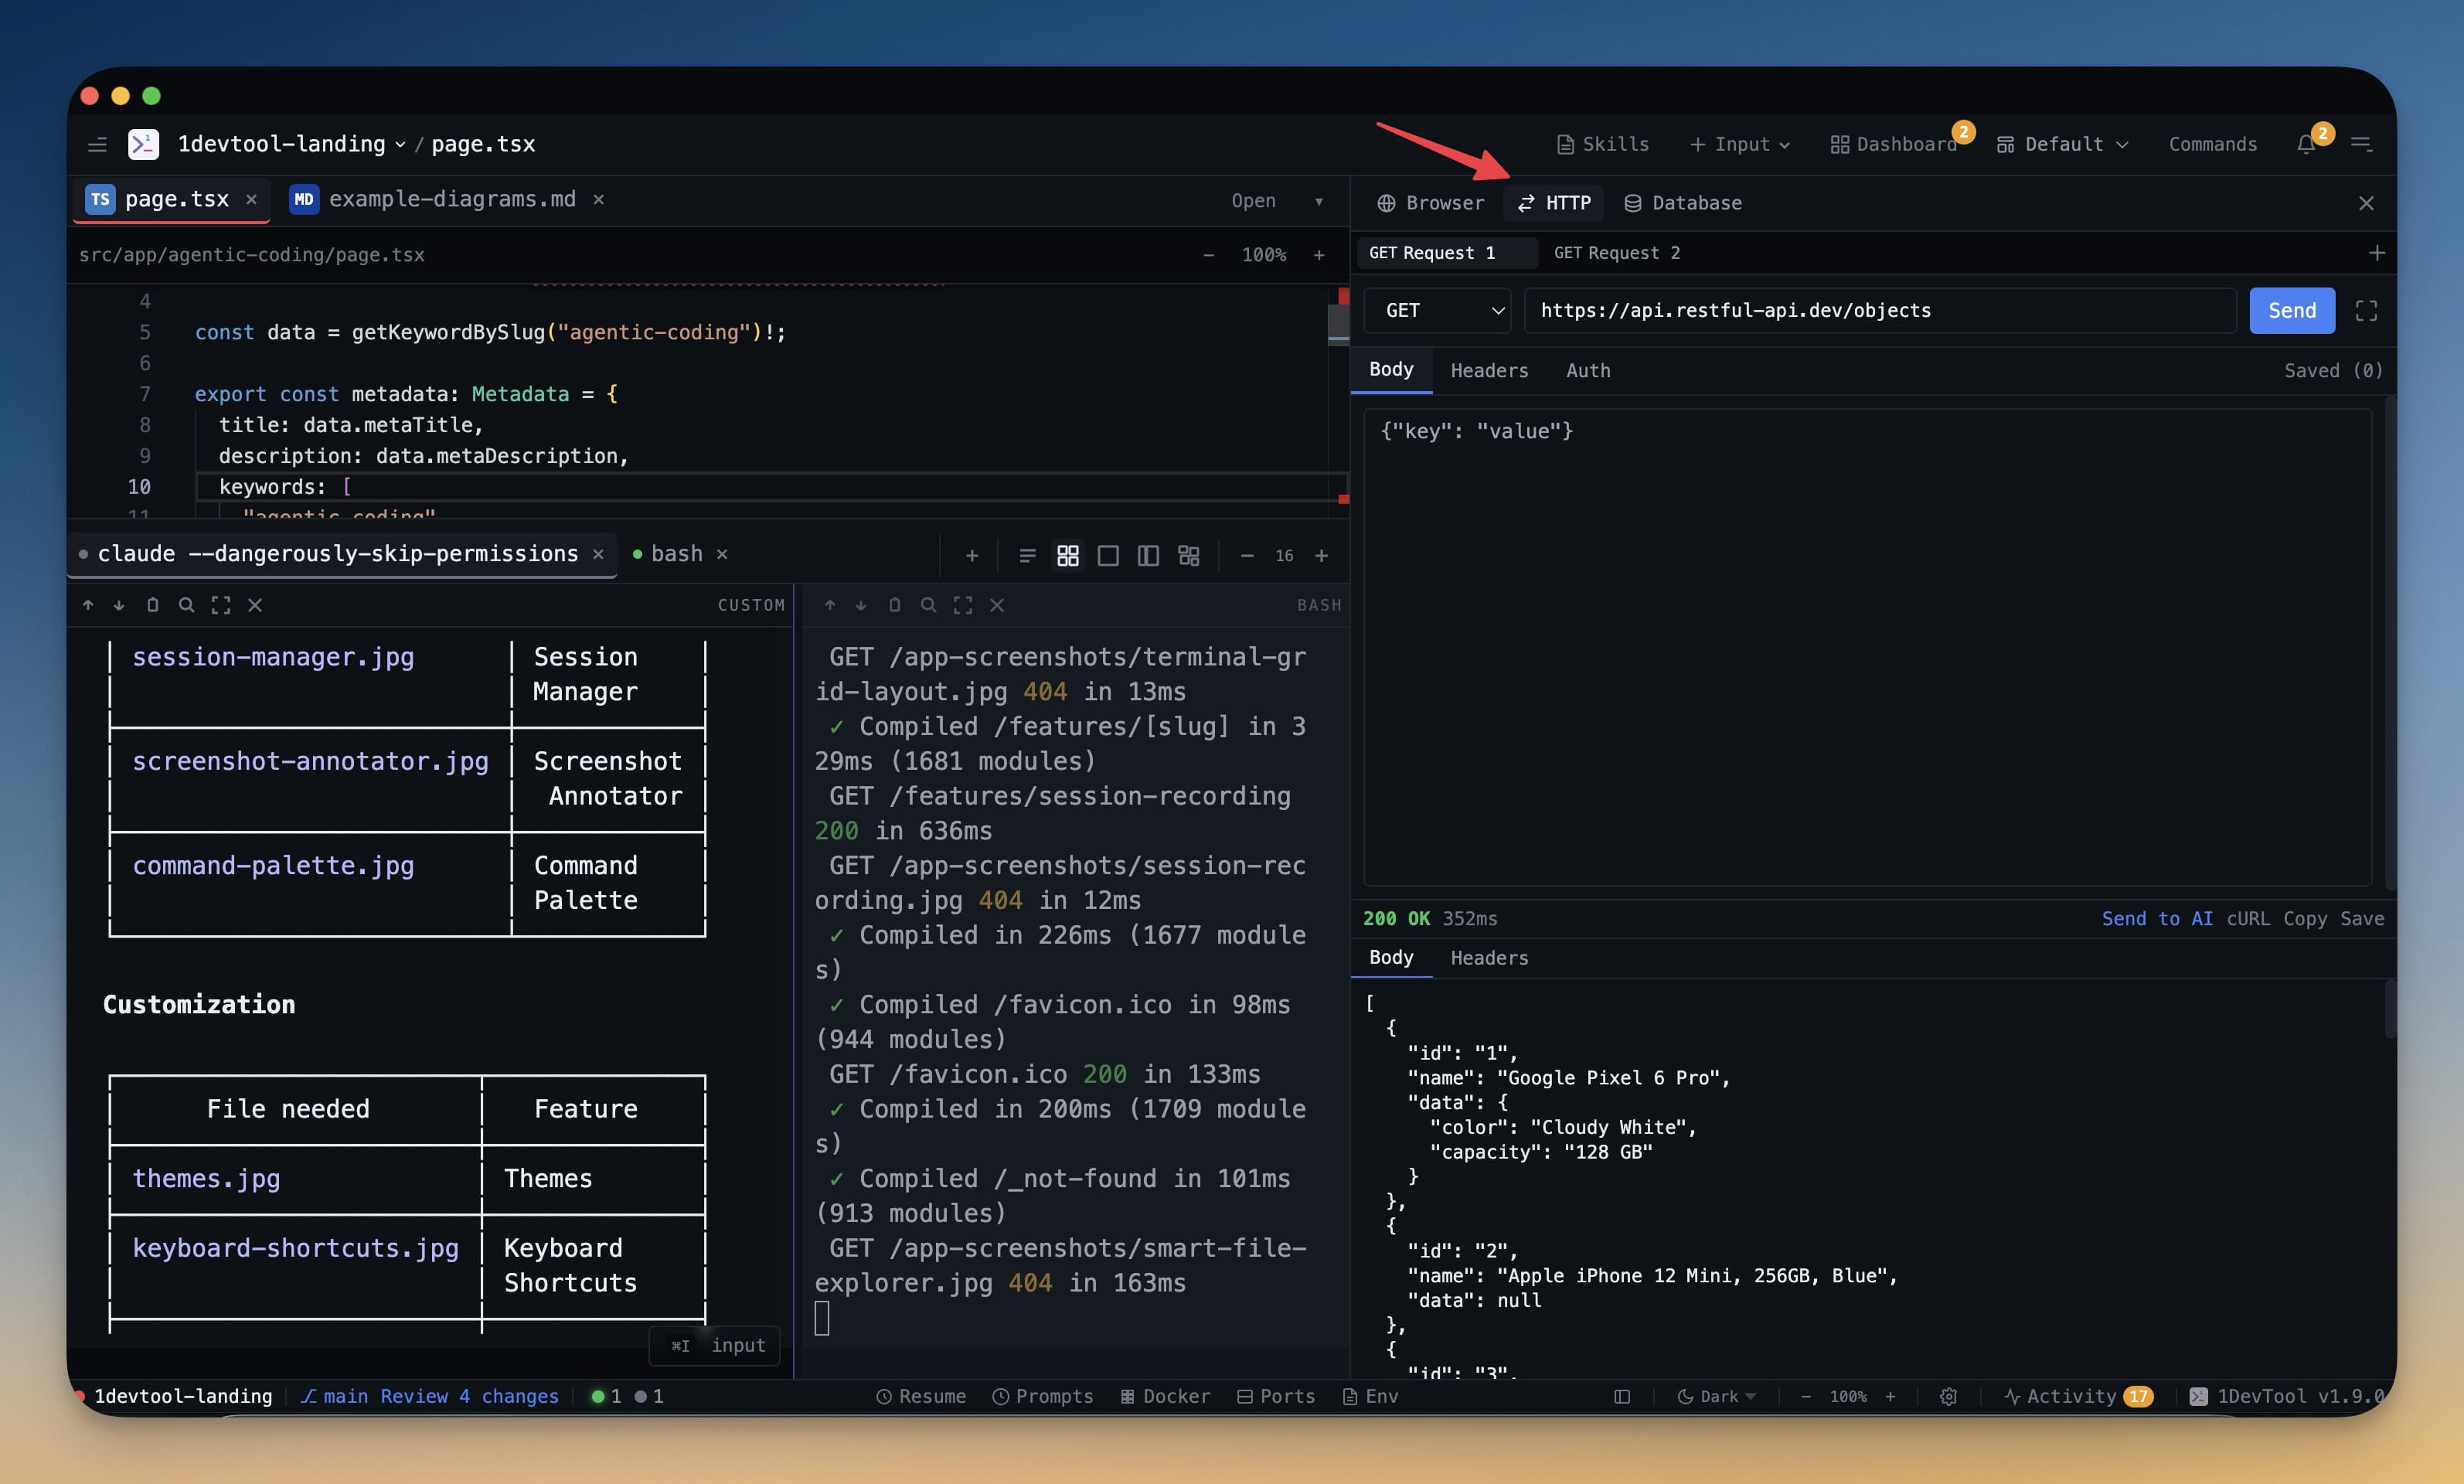
HTTP Request भेजें
किसी भी API endpoint को seconds में test करें — URL type करें, headers जोड़ें, Send click करें।
पहला request भेजने में करीब दस सेकंड लगते हैं। यह guide basics बताती है और रोज़ के API testing के लिए जो चाहिए वो सब cover करती है।
पहला Request
- HTTP panel खोलें — Cmd+H (Mac) या Ctrl+H (Windows/Linux) दबाएं, या left strip में HTTP icon click करें।
- ऊपर address bar में URL type या paste करें। उदाहरण:
https://jsonplaceholder.typicode.com/posts/1 - Method चुनें — method dropdown default GET होता है। POST, PUT, DELETE, PATCH, HEAD, या OPTIONS पर switch करने के लिए click करें।
- Send click करें — नीला Send button request fire करता है।
- Response पढ़ें — response panel नीचे status code, headers, और body के साथ आता है।
बस इतना। कोई project setup नहीं, कोई configuration files नहीं, कोई accounts नहीं।
Request Headers जोड़ें
ज़्यादातर APIs headers चाहती हैं — authentication, content type, या versioning के लिए। जोड़ने के लिए:
- Headers tab click करें (Params और Body के बगल में)
- + Add Header click करें
- Left field में header name और right field में value type करें
- Headers हर request के साथ automatically भेजे जाते हैं जब तक remove न करें
सबसे common headers:
| Header | Example Value | कब Use करें |
|---|---|---|
Content-Type | application/json | JSON body भेजते वक्त |
Authorization | Bearer your-token-here | Token-based auth (JWT, OAuth) के लिए |
Accept | application/json | Server को बताएं किस format में चाहते हैं |
X-API-Key | your-api-key-here | API key authentication के लिए |
जितने चाहें headers जोड़ सकते हैं। Header के बगल में checkbox uncheck करके temporarily disable करें बिना delete किए।
Request Body जोड़ें
POST, PUT, और PATCH requests के लिए आमतौर पर data के साथ body भेजनी होती है:
- Body tab click करें
- Format dropdown से JSON चुनें (या API के अनुसार Form, Text, या Binary)
- JSON payload type या paste करें
नई post बनाने के लिए example JSON body:
{
  "title": "My New Post",
  "body": "This is the content of the post.",
  "userId": 1
}
Editor type करते वक्त JSON validate करता है और syntax errors underline करता है। भेजने से पहले fix करें — malformed body आमतौर पर 400 Bad Request देगी।
Response Inspect करें
Request complete होने पर response panel सब कुछ दिखाता है:
- Status code — ऊपर prominently। 2xx success के लिए green, 3xx redirects के लिए yellow, 4xx client errors और 5xx server errors के लिए red।
- Response time — request कितने milliseconds में पूरा हुआ। Slow endpoints spot करने के लिए useful।
- Response size — response body का size।
- Body — JSON हो तो automatically pretty-printed। Nested objects collapse और expand करने के लिए tree view use करें।
- Headers — response panel में Headers tab click करके server ने जो headers भेजे सब देखें।
200 OK valid JSON के साथ मतलब endpoint काम कर रहा है। 401 Unauthorized आमतौर पर मतलब auth header गलत है। 404 Not Found मतलब URL path incorrect है।

Request Save करें
Request काम करने लगे तो save करें ताकि दोबारा URL और headers type न करें:
- Save button click करें (floppy disk icon, या Cmd+S दबाएं)
- Descriptive नाम दें — जैसे "Get user by ID" या "Create product"
- Collection choose या create करें जिसमें save करना हो
- Save click करें
Saved request left sidebar में उसकी collection के नीचे दिखती है। कभी भी click करें — URL, method, headers, और body exactly वैसे load होते हैं जैसे save किए थे। Collections sessions में persist होती हैं।