AI Agent चलाएं
Claude Code, Codex, या Gemini शुरू करें और उसे आपका project build करते देखें।
1DevTool में AI coding agent चलाना straightforward है: terminal खोलें, agent चुनें, prompt type करें, और agent काम पर लग जाता है। यह page उस पूरे process की हर detail बताती है, जिसमें वो tools भी शामिल हैं जो agents के चलने पर उन्हें manage करना आसान बनाते हैं।

Agent शुरू करना
जब नया terminal जोड़ते हैं और agent type (Claude Code, Codex, या Gemini CLI) select करते हैं, तो terminal automatically project के root folder में खुलता है। Navigate नहीं करना — 1DevTool वो folder use करता है जो project को sidebar में जोड़ते वक्त set किया था।
Agent शुरू होता है और welcome prompt दिखाता है, आपकी पहली instruction का इंतज़ार करते हुए।
Prompt Type करना
Terminal के अंदर click करके focus करें, फिर किसी भी terminal की तरह prompt type करें। AI agents natural language accept करते हैं, कोई special syntax याद नहीं करना। बस describe करें क्या चाहते हैं:
Add a search bar to the homepage that filters the product list in real time
Prompt भेजने के लिए Enter दबाएं। Agent codebase पढ़ेगा, approach plan करेगा, और changes करना शुरू करेगा। Real time में देख सकते हैं — जो files edit हो रही हैं और commands चल रहे हैं वो दिखाता है।
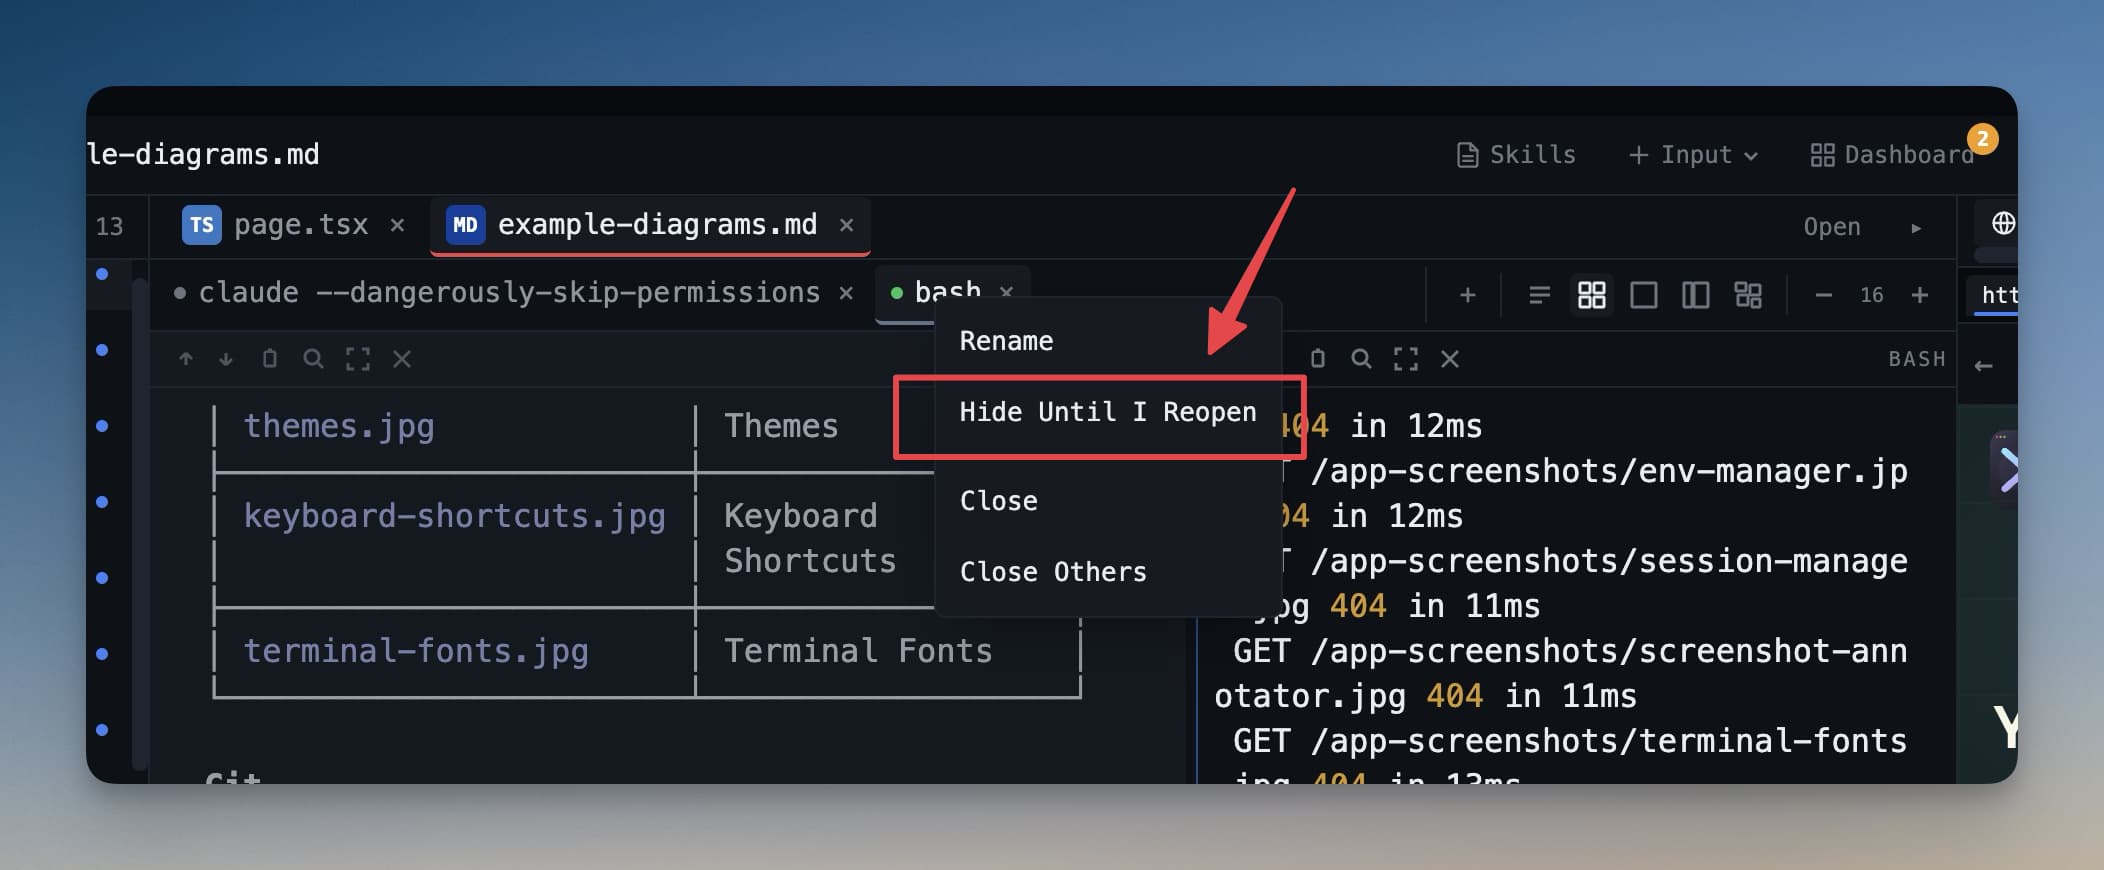
Agent Input Overlay
AI agent terminals एक special full-screen text interface (TUI कहलाता है) use करती हैं जो normal keyboard input takeover कर लेती है। इससे terminal के अंदर standard cursor movement, copy-paste, और multi-line editing अजीब तरह behave कर सकती है।
Agent Input Overlay यह solve करता है। यह terminal के बाहर एक अलग, comfortable text box देता है जहां शांति से prompt लिख सकते हैं, फिर एक click से भेज सकते हैं।
इस्तेमाल करने का तरीका:
Cmd+I(Mac) याCtrl+I(Windows/Linux) दबाएं — overlay terminal के ऊपर floating panel के रूप में खुलता है।- Prompt type करें। सभी normal text editing shortcuts use कर सकते हैं, long text blocks paste कर सकते हैं, और बिना कुछ टूटे multi-line prompts लिख सकते हैं।
- Send click करें या
Cmd+Enter/Ctrl+Enterदबाएं। Prompt agent को deliver हो जाता है।
Overlay खासकर उन लंबी instructions के लिए useful है जहां commit करने से पहले सोचना हो।
Prompt History
Agent को भेजा हर prompt history में save होता है। Cmd+Up (Mac) या Ctrl+Up (Windows/Linux) दबाएं और पिछले prompts में scroll करके reuse या edit करें।
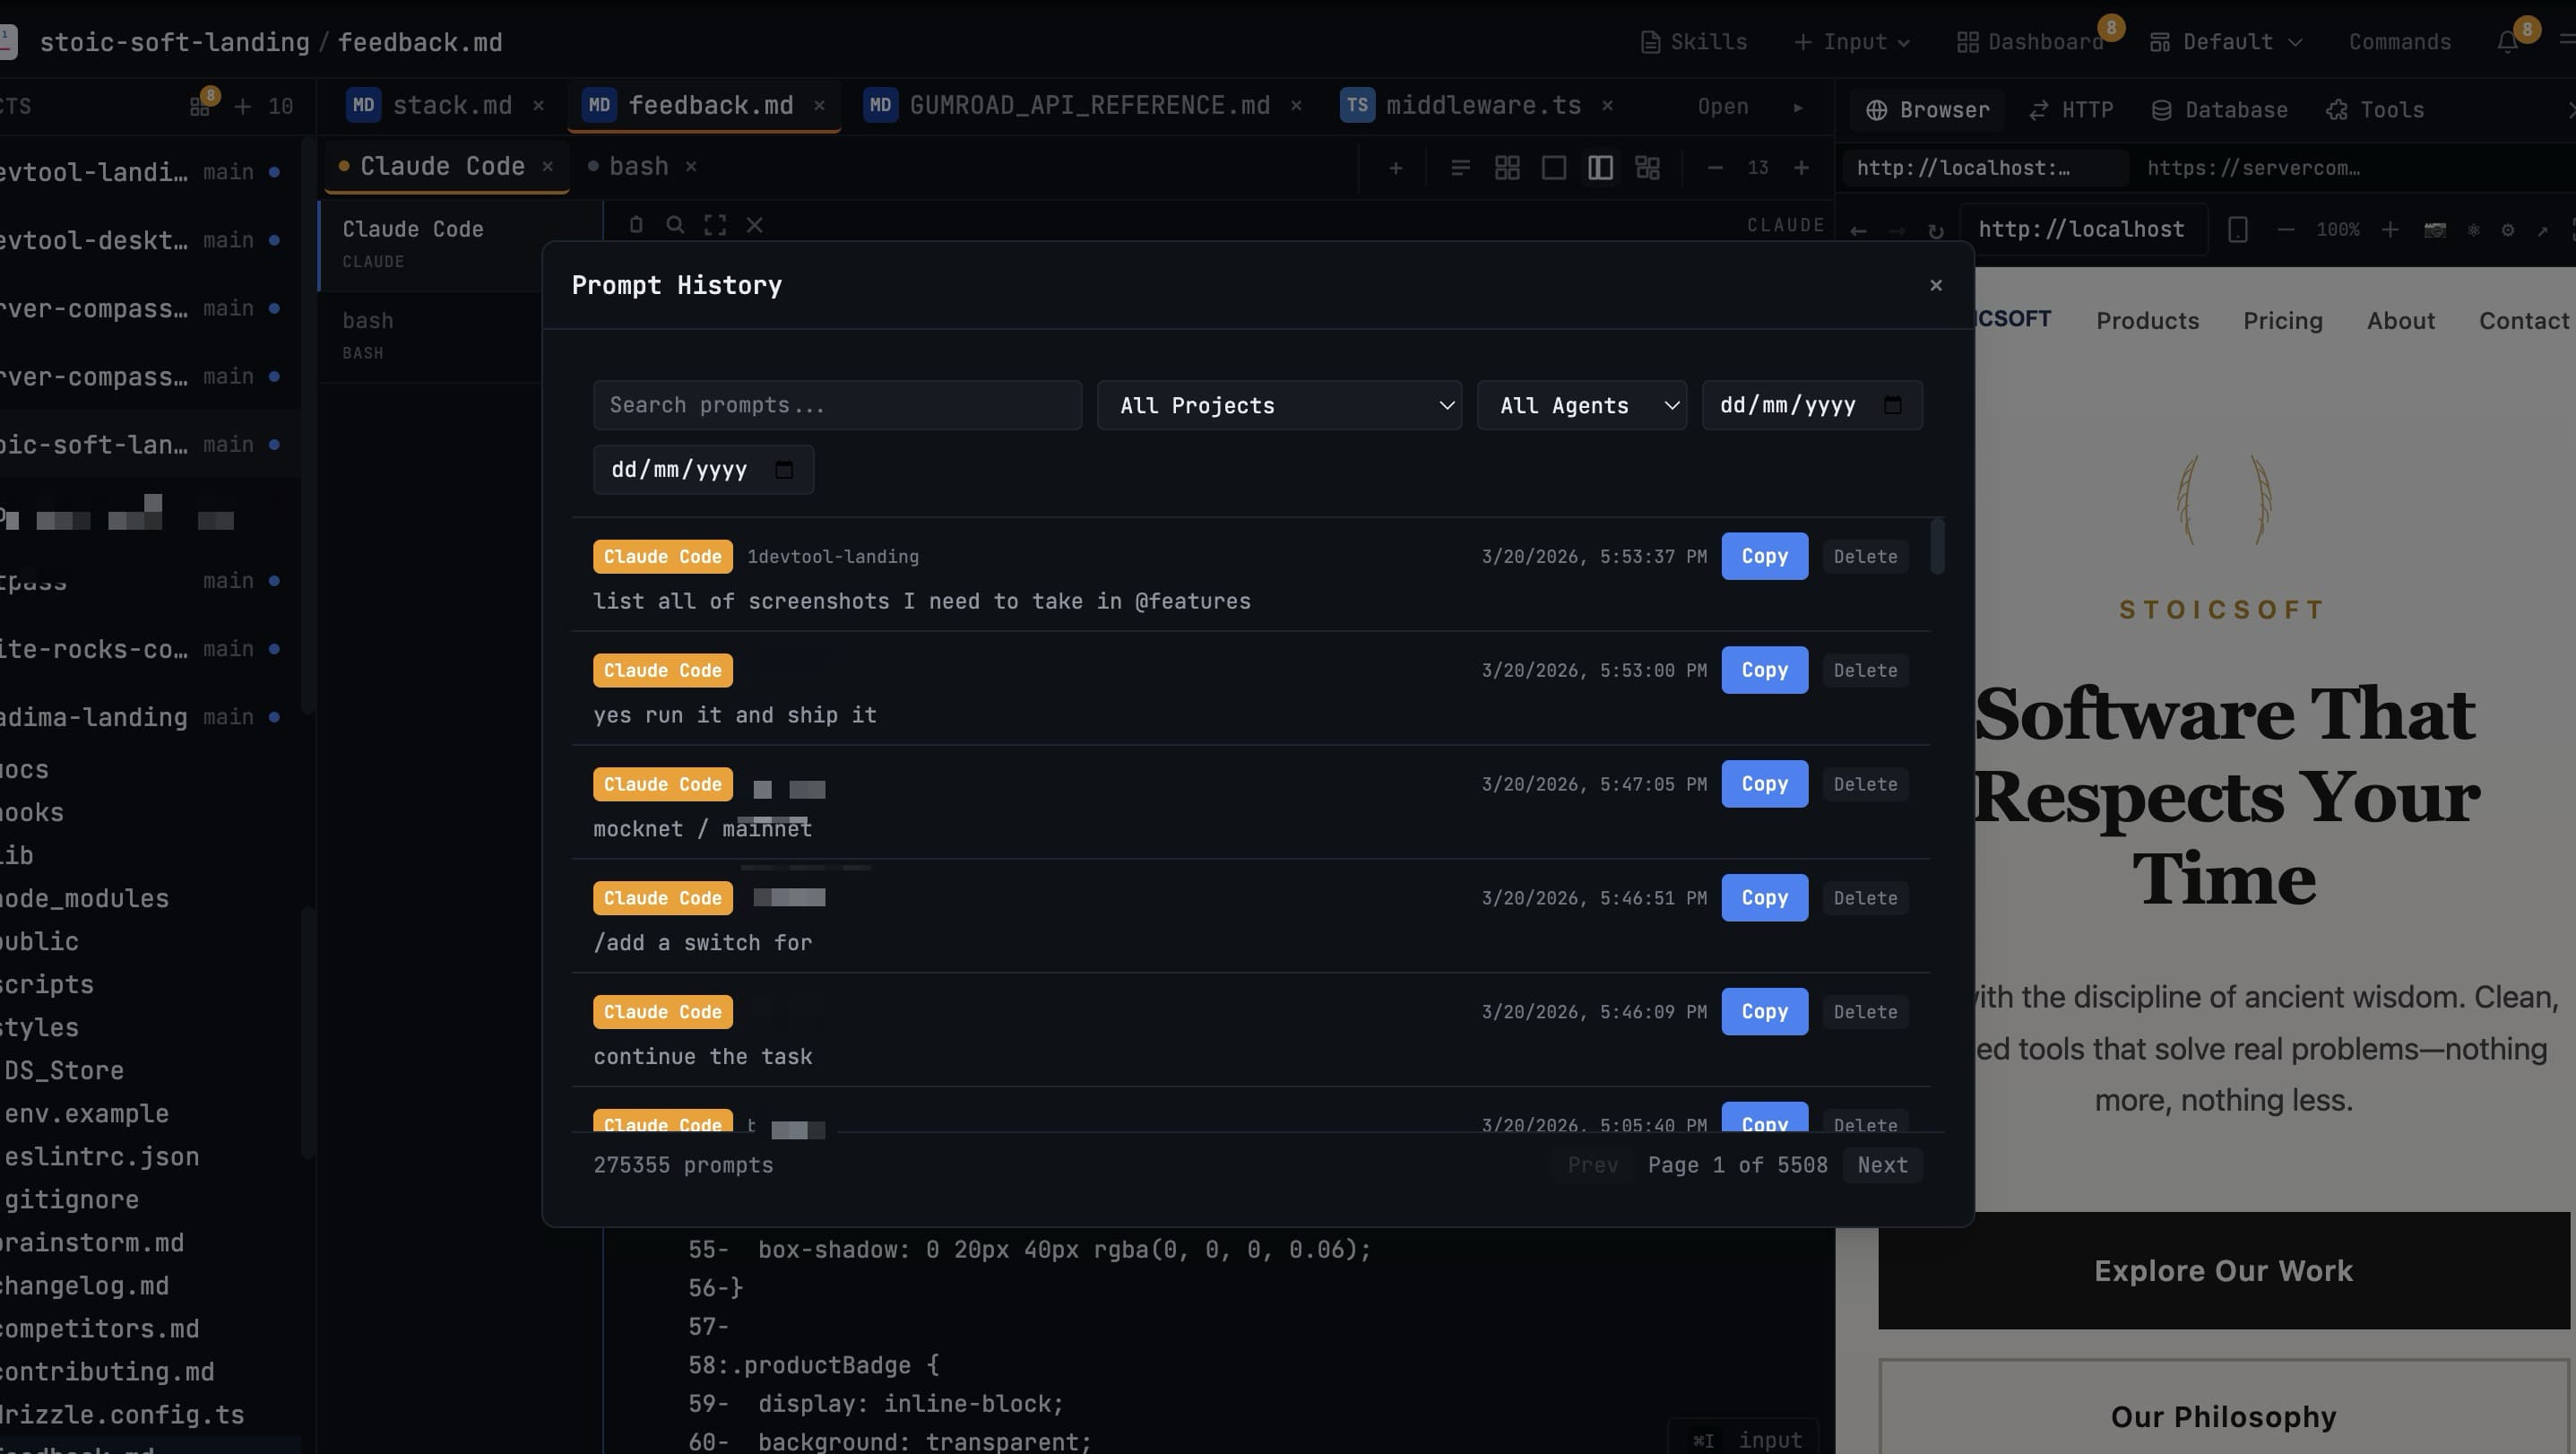
यह तब handy है जब किसी task पर iterate कर रहे हों और पहले type किए prompt का थोड़ा modified version re-send करना हो।
Cmd+Down / Ctrl+Down दबाएं history में आगे move करने के लिए।
Hover Preview
जब कई terminals खुले हों, किसी भी terminal पर mouse hover करके उसका live preview देखें — उस पर focus switch किए बिना।
Preview tooltip या mini-window के रूप में आता है। इसका मतलब active terminal पर focused रह सकते हैं (शायद code review कर रहे हों या prompt type कर रहे हों) जबकि दूसरे panel में चल रहे agent पर नज़र भी है। Agent finish होते या input चाहते ही preview में दिख जाएगा।
एक साथ Multiple Agents चलाना
यही feature 1DevTool को regular terminal app में AI agents चलाने से fundamentally अलग बनाता है।
एक साथ कई agents हो सकते हैं — हर एक अपनी terminal panel में, हर एक project के अलग हिस्से पर काम करते हुए। उदाहरण के लिए:
- Top-left: Claude Code नया API endpoint add कर रहा है
- Top-right: Codex पहले बनाई feature के tests लिख रहा है
- Bottom-left: Bash terminal dev server चला रहा है ताकि changes live देखें
- Bottom-right: Browser panel app दिखा रहा है जैसे-जैसे update होती है
चारों एक साथ active हैं। किसी भी agent को कभी भी नया prompt भेज सकते हैं, दूसरे का output check कर सकते हैं, और browser में app update होते देख सकते हैं — windows switch किए बिना, context खोए बिना।
2×2 grid layout specifically इस तरह के parallel work के लिए बना है। Setup के लिए Layout Modes देखें।