Add Your First Project
Bring your code folder into 1DevTool and start working in 60 seconds.
Before you can open a terminal or run an AI agent, you need to add a project. A project tells 1DevTool which folder you're working on, so it can open your AI terminals in the right directory, remember your database connections, and keep all your tools organized in one place.
What is a Project?
In 1DevTool, a "project" is a code folder — your Git repository, or any folder on your machine (or on a remote server) that you want to work on.
Each project gets its own space inside 1DevTool with:
- A color accent in the sidebar so you can spot it at a glance — especially helpful when you have several projects open at once
- Terminals with saved state — your terminal sessions are remembered between restarts, so you don't lose your context
- Database connections — each project keeps its own list of databases, so you never accidentally connect the wrong database to the wrong app
- Open files — files you had open when you closed 1DevTool will be right there when you come back
- HTTP requests — saved API requests stay scoped to the project they belong to
You can add as many projects as you want. Switching between them is instant — just click in the left sidebar.
Add a Local Folder
This is the most common starting point. If you already have a code folder sitting on your computer:
- Click the + button at the bottom of the left sidebar. You can also press
Cmd+Non Mac orCtrl+Non Windows. - A dialog appears. Click "Open Folder".
- Navigate to your project folder in the file picker and click Open.
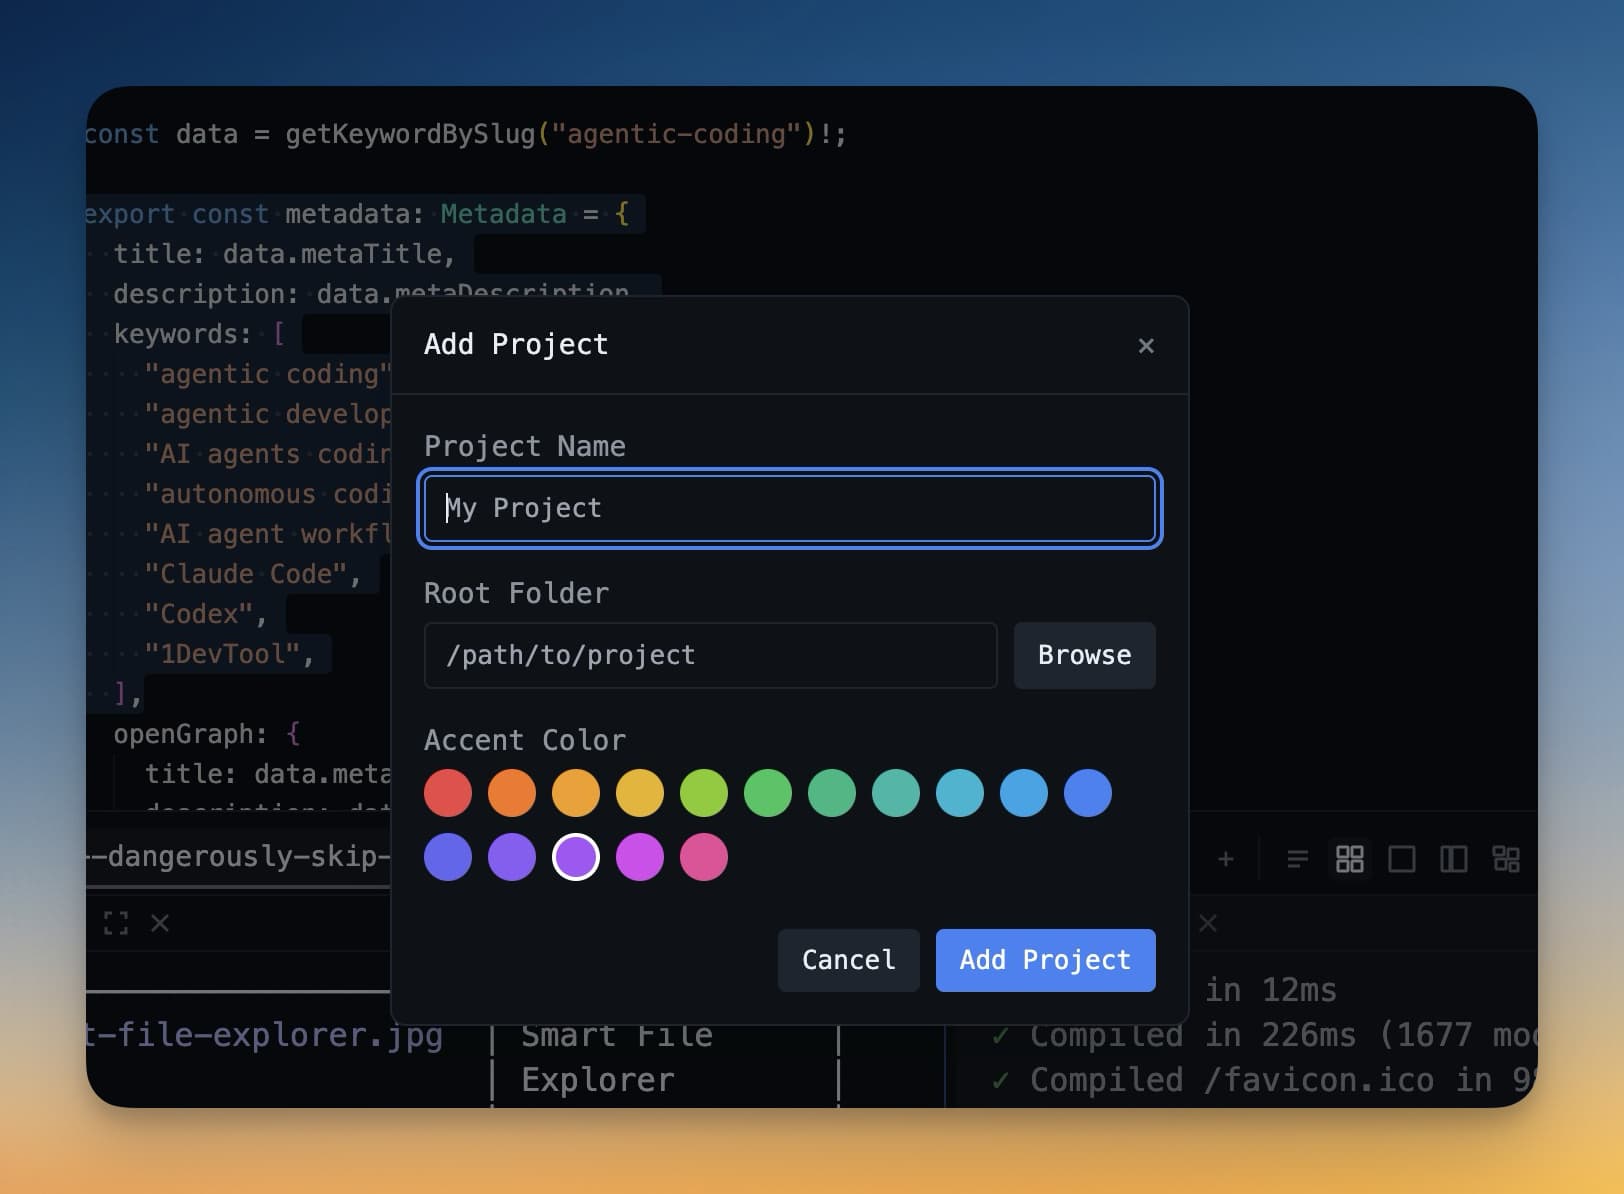
- Give the project a name. It defaults to the folder name, which is usually perfect.
- Pick a color accent. This color appears as a small badge next to your project in the sidebar — useful for telling projects apart at a glance. You can change it any time.
- Click Add Project.
Your project is now in the sidebar. Click it to open it.
Clone from Git
If your project lives on GitHub, GitLab, Bitbucket, or any other Git host, you can clone it directly from 1DevTool — no separate terminal needed.
"Cloning" means downloading a copy of a remote repository to your computer. If you've never done this before, 1DevTool makes it simple:
- Click the + button in the sidebar.
- Choose "Clone from Git".
- Paste your repository URL. This is the URL from the "Clone" button on GitHub — it looks like
https://github.com/yourname/your-repo.git. - Choose where to save the cloned folder on your machine. Somewhere like
~/Code/or~/Projects/works well. - Click Clone.
1DevTool downloads the repository and automatically adds it as a project. You'll see progress in real time. Once it's done, you're ready to open a terminal.
Note: Cloning requires Git to be installed on your machine. Most computers already have it. To check, open any terminal and run
git --version. If you see a version number, you're set.

Add a Remote Server via SSH
If you develop on a remote server — a VPS, a cloud VM on DigitalOcean or AWS, or a remote workstation — you can add it as a project too.
1DevTool connects over SSH (the standard secure way to access remote machines). Once connected, your remote folder works just like a local project.
- Click + → "Add via SSH".
- Fill in your server details:
- Host — your server's IP address or domain, e.g.
123.45.67.89ormyserver.com - User — your username on the server, e.g.
ubuntuorroot - Port — usually
22. Only change this if your server uses a non-standard port. - SSH Key — the path to your private key file, e.g.
~/.ssh/id_rsa. If you use password login instead, leave this blank and you'll be prompted.
- Host — your server's IP address or domain, e.g.
- Click Connect.
1DevTool connects to the server and lets you browse the remote filesystem. Choose a folder to use as your project and it will appear in the sidebar. Terminals, the database client, and the file editor all work — they just run on the remote machine instead of your local one.

Next Step
Your project is ready. Now it's time to open an AI agent inside it.
Continue to Add Your First AI Agent →