Workspace Overview
Understand the three zones of 1DevTool and how panels work together.
When you open 1DevTool for the first time, the screen is divided into three distinct zones. Each zone has a specific job, and once you understand what lives where, you'll feel at home within minutes.
The Three Zones
Left Sidebar
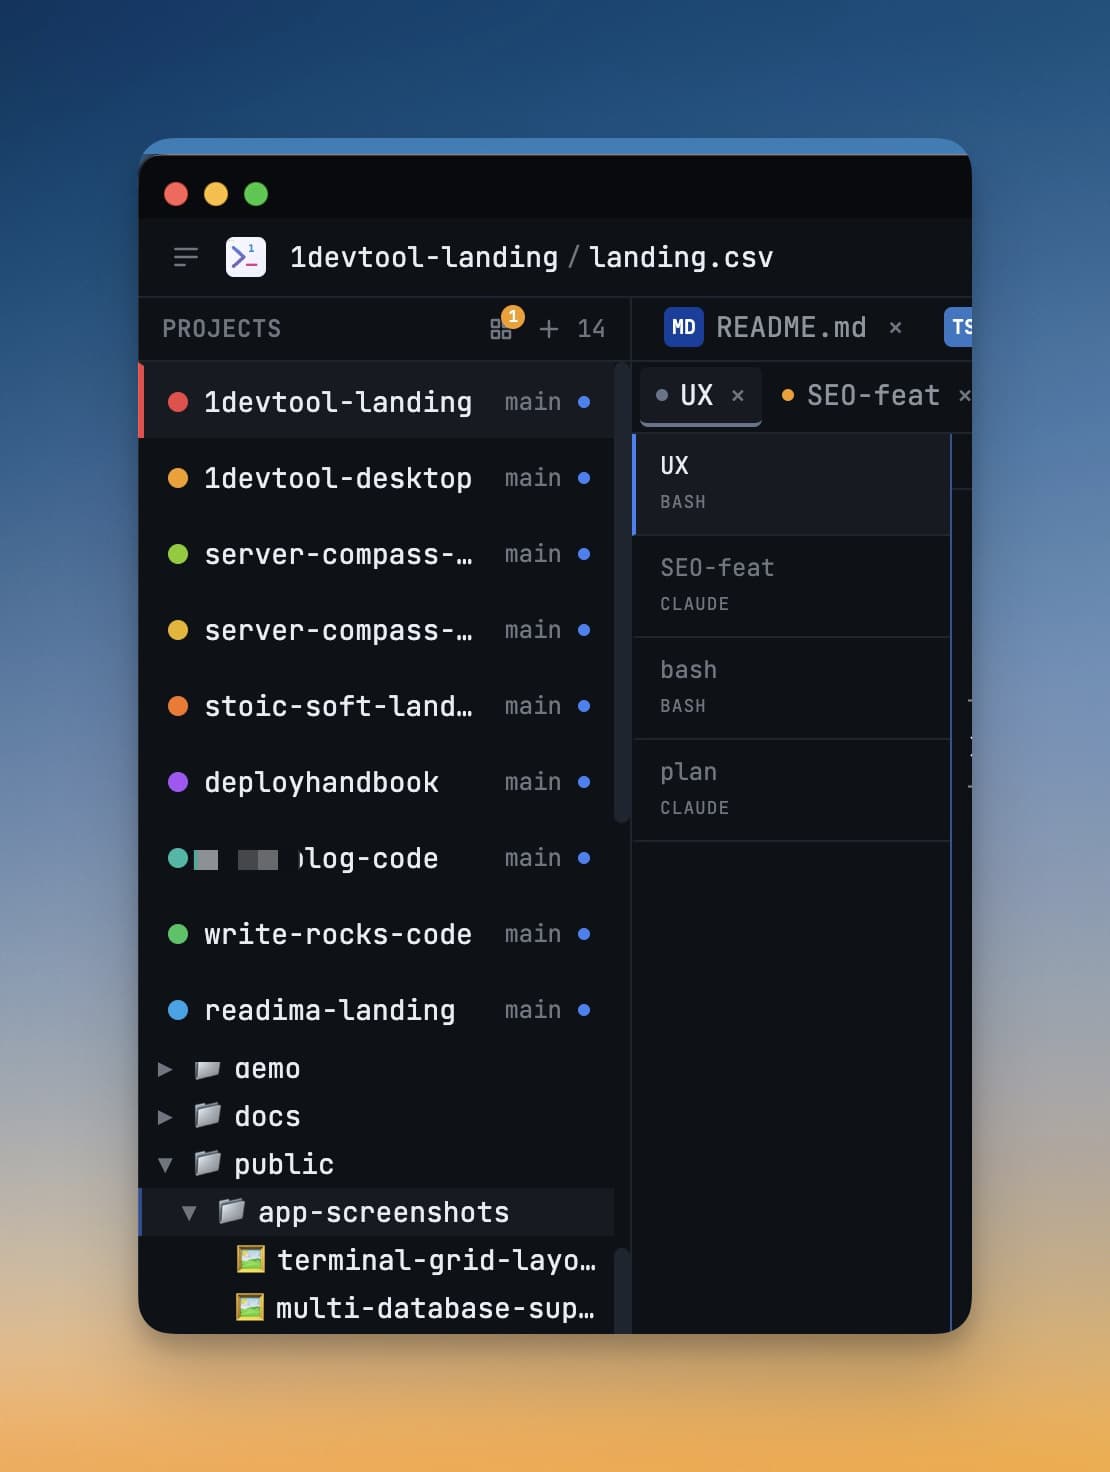
The left sidebar is your project hub. It displays a vertical stack of color-coded icons — one icon per project. The color makes it easy to tell your projects apart at a glance without having to read any text.
At the bottom of the sidebar you'll find navigation icons for global settings, the session manager, and other app-level controls.
To switch projects, simply click any project icon. 1DevTool instantly restores the exact set of panels and terminals you had open when you last worked in that project. Your previous project keeps running silently in the background — nothing is killed.
Main Area
The main area is the large center region where everything happens. It is made up of panels — individual windows that each serve one purpose. You can have several panels open at the same time, arranged side by side or in a grid.
Here are the panel types available in 1DevTool:
| Panel | What it does |
|---|---|
| Terminal | A full terminal where you run AI agents (Claude Code, Codex, Gemini CLI) or any shell command |
| Database | Browse and query your databases visually without needing a separate GUI app |
| HTTP Client | Send API requests and inspect responses, like a built-in Postman |
| Git | Stage changes, write commit messages, and view diffs — all without leaving 1DevTool |
| Browser | A real browser panel so you can preview your app as you build it |
| IDE Strip | Quick file navigation and editor shortcuts alongside your terminals |
Status Bar
The thin bar along the very bottom of the window is the status bar. It stays visible no matter what you're doing and shows:
- The current project name
- How many terminal sessions are active
- System resource usage (CPU and memory)
- The session manager icon — click it to see every running terminal session across all projects
Working with Panels
Adding a Panel
Click the + button in any panel's header to open the panel picker. Choose the panel type you want and it appears in the next available slot in the main area.
You can also use the toolbar at the top of the main area — it has quick-add buttons for every panel type so you can open what you need without navigating menus.
Resizing Panels
Hover your cursor over the divider between two panels. The cursor changes to a resize handle (a double-headed arrow). Click and drag to give more space to whichever panel you need.
Tip: For temporary focus, press
Cmd+Shift+F(Mac) orCtrl+Shift+F(Windows) to expand the active panel to fill the entire main area. Press the same shortcut again to return to the previous layout.
Closing a Panel
Click the × on the panel's tab, or press Cmd+W (Mac) / Ctrl+W (Windows) while the panel is focused. Closing a panel does not kill any process running inside it. Terminals keep running in the background and can be reconnected any time from the session manager in the status bar.
Switching Between Projects
Click any icon in the left sidebar to switch projects. 1DevTool handles the context switch instantly:
- Your panels for the new project are restored exactly as you left them
- The terminal sessions for the previous project continue running in the background
- The status bar updates to reflect the newly active project
You can also press Cmd+1 through Cmd+9 (Mac) or Ctrl+1 through Ctrl+9 (Windows) to jump directly to a project by its position in the sidebar — no mouse needed.
The Top Toolbar
The toolbar sits at the top of the main area and gives you fast access to the most common actions:
- Layout switcher — toggle between 2×2 grid, column view, and fullscreen (see Layout Modes)
- Add panel buttons — one button per panel type for instant access
- Project name display — a reminder of which project is currently active