Git Client — Overview
A visual Git client built into your workspace — diff, commit, push, and branch without the terminal.
The Git Client gives you a visual interface for everything Git — seeing what changed, staging files, writing commit messages, pushing to remote, switching branches, and managing worktrees. Think of it as a lightweight GitKraken built directly into 1DevTool, with no separate install required.
What Is the Git Client?
When you're using an AI agent to write code, that agent is making changes to your files constantly. The Git Client lets you see those changes visually — which files were modified, exactly which lines were added or removed, and what the diff looks like — before you commit anything.
You don't need to know any git commands to use it. Everything is point-and-click.
Why Use It?
The most important habit when working with AI agents is reviewing changes before committing. Agents are fast, but they're not perfect. A visual diff makes it easy to spot when an agent changed something you didn't expect — a file it shouldn't have touched, a line that looks wrong, or a function that was quietly removed.
Without a visual client, you'd have to run git diff in the terminal and scroll through plain text. With the Git Client, you see color-coded line additions and deletions side by side, and you can stage exactly the files you want.
How to Open
- Click the Git icon in the left icon strip
- Or press Cmd+G (Mac) / Ctrl+G (Windows/Linux)
The Git panel opens alongside your other workspace panels. It automatically detects the git repository in your current project folder.
What You Can Do
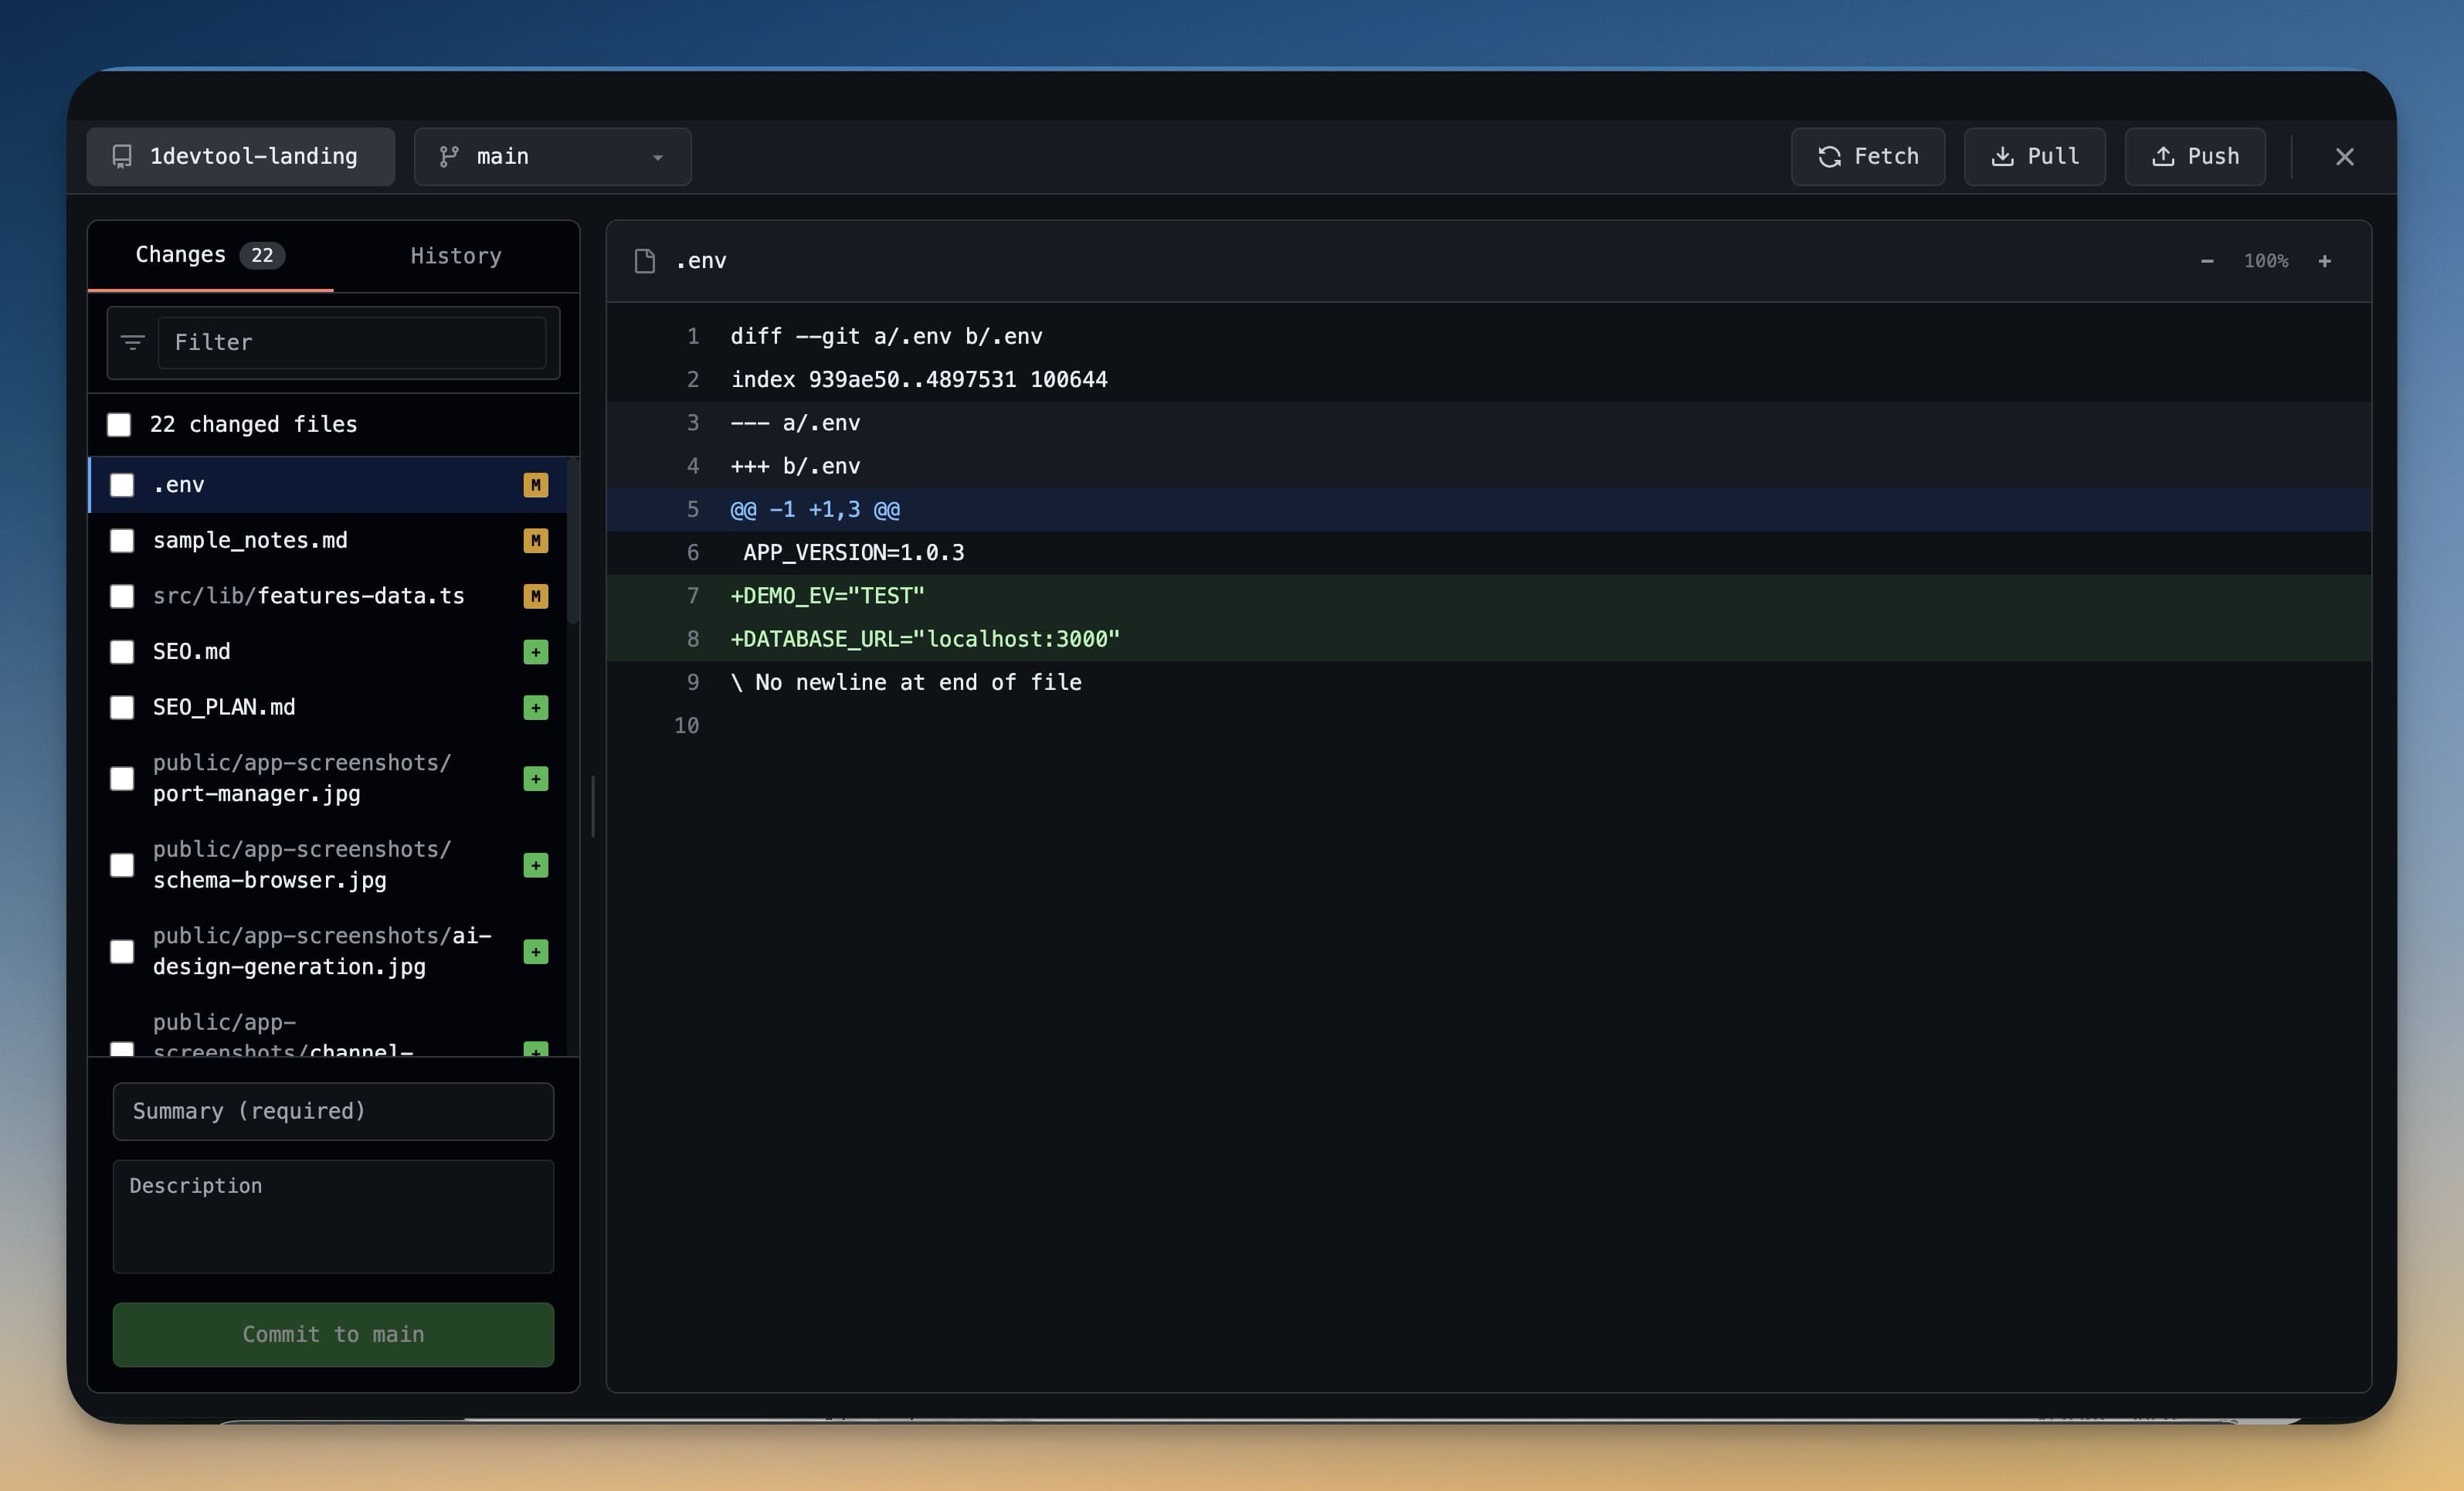
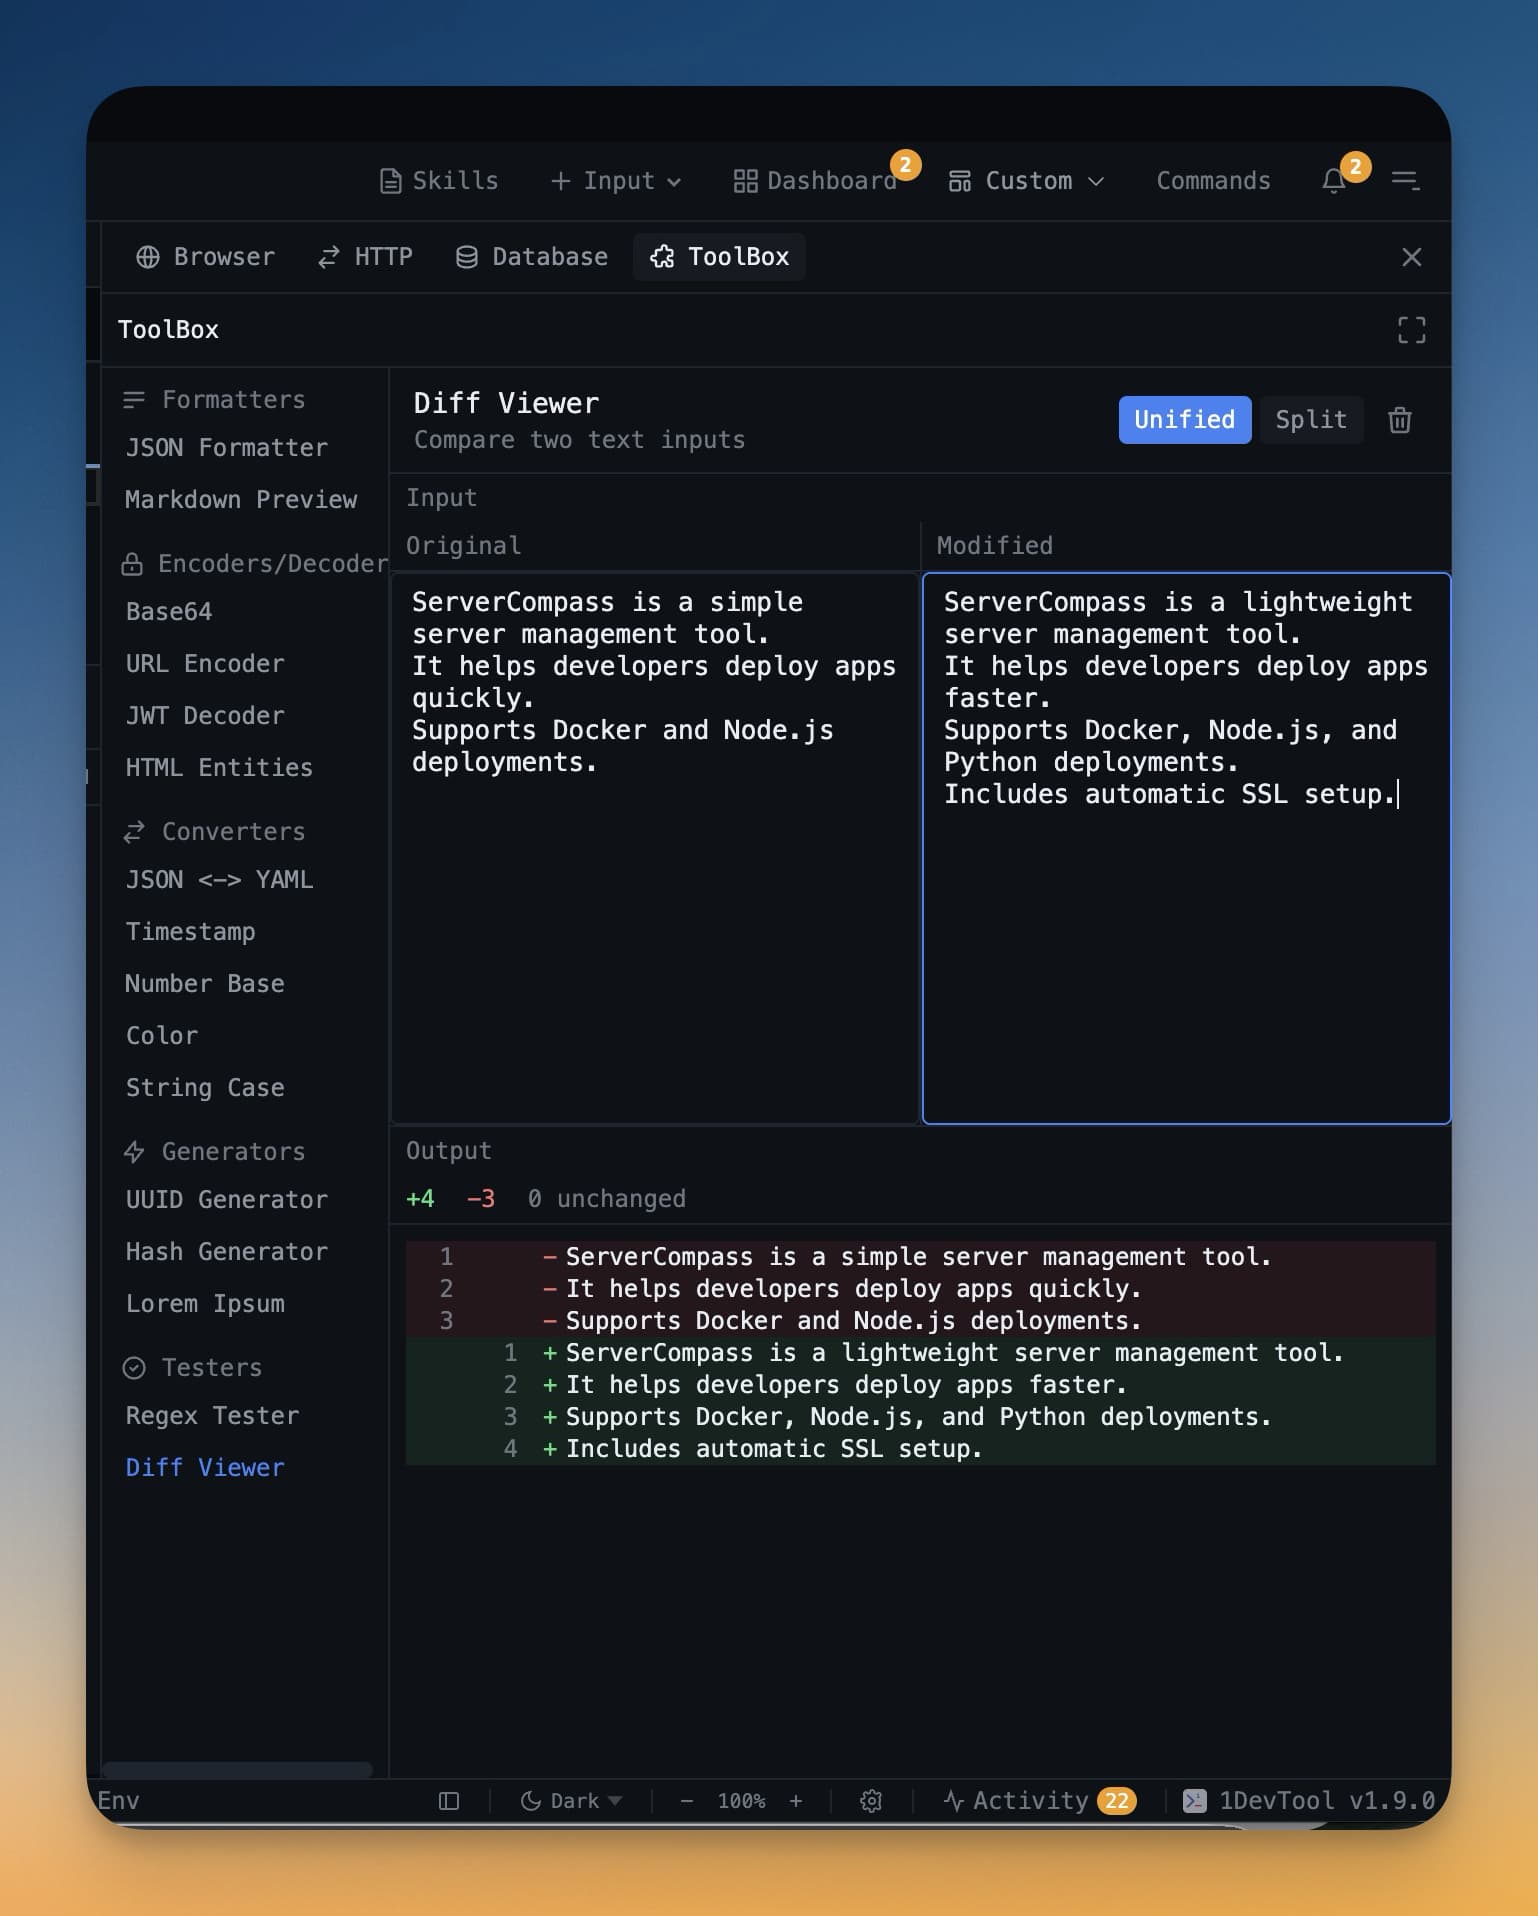
- Diff viewer — see added lines (green), removed lines (red), and unchanged context. Switch between unified and side-by-side views.
- Staging — check or uncheck individual files (or individual hunks) to control exactly what goes into each commit.
- Commit — type a commit message and commit without touching the terminal.
- Push & Pull — sync with your remote in one click.
- Branch switching — create new branches, checkout existing ones, and see your full branch history.
- Worktrees — check out multiple branches simultaneously, each in its own folder. See Git Worktrees for details.
- Several repositories in one project — a repository picker at the top switches the staged changes, history, branches, and worktrees together. See Multi-Repo Workspaces.
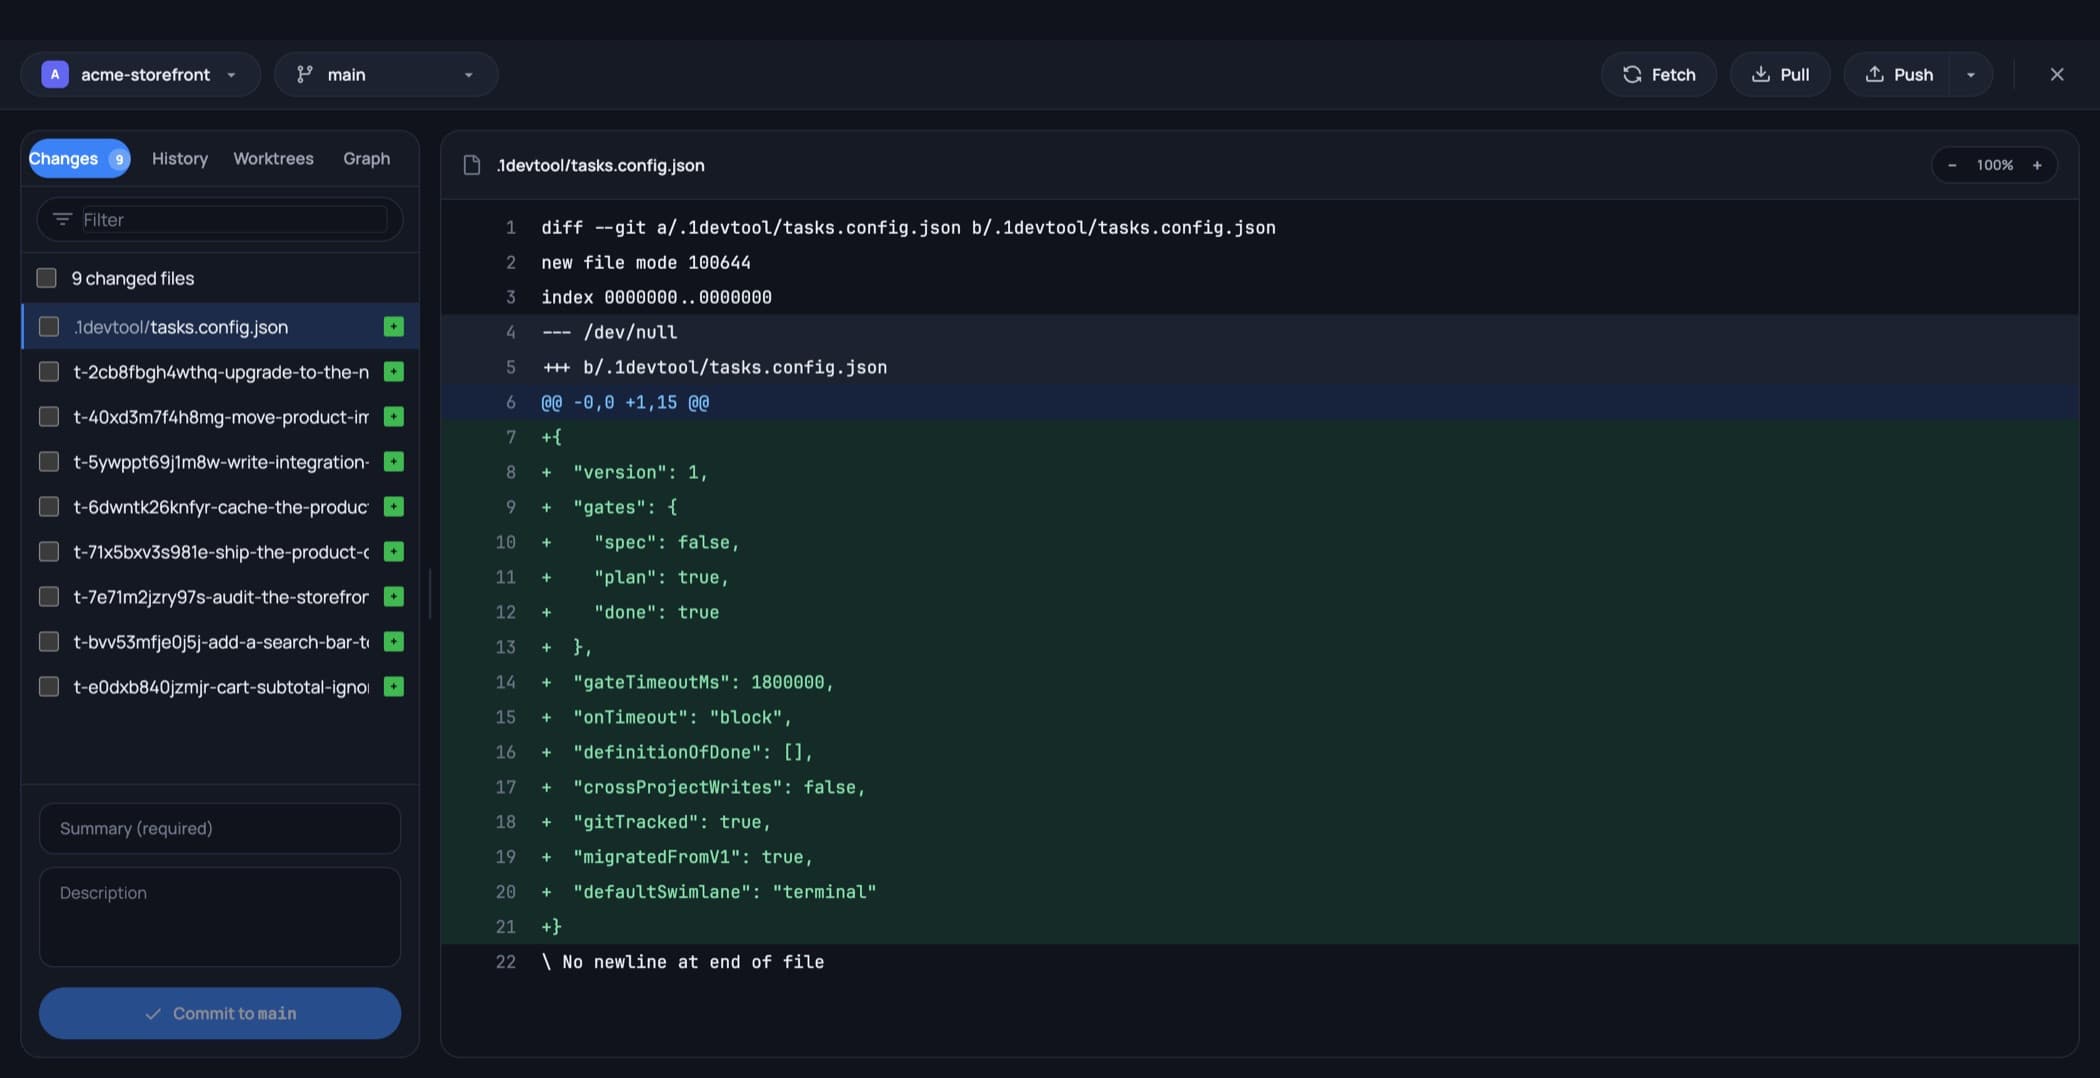
Along the top sit the repository picker, the branch picker, and Fetch / Pull / Push. Down the left are the tabs — Changes, History, Worktrees, Graph — with your changed files, a filter box, and the commit message fields underneath.
The status-bar branch picker
You do not have to open the client to change branch. The status bar carries a branch indicator: click it for a searchable list of branches and worktrees, with the current one marked. Hover any row for a copy button, so a long branch name reaches your clipboard without a checkout.
In a multi-repo project the indicator follows the repository you are working in, so the branch on screen is always the branch of the file you are looking at.
Actions on a commit
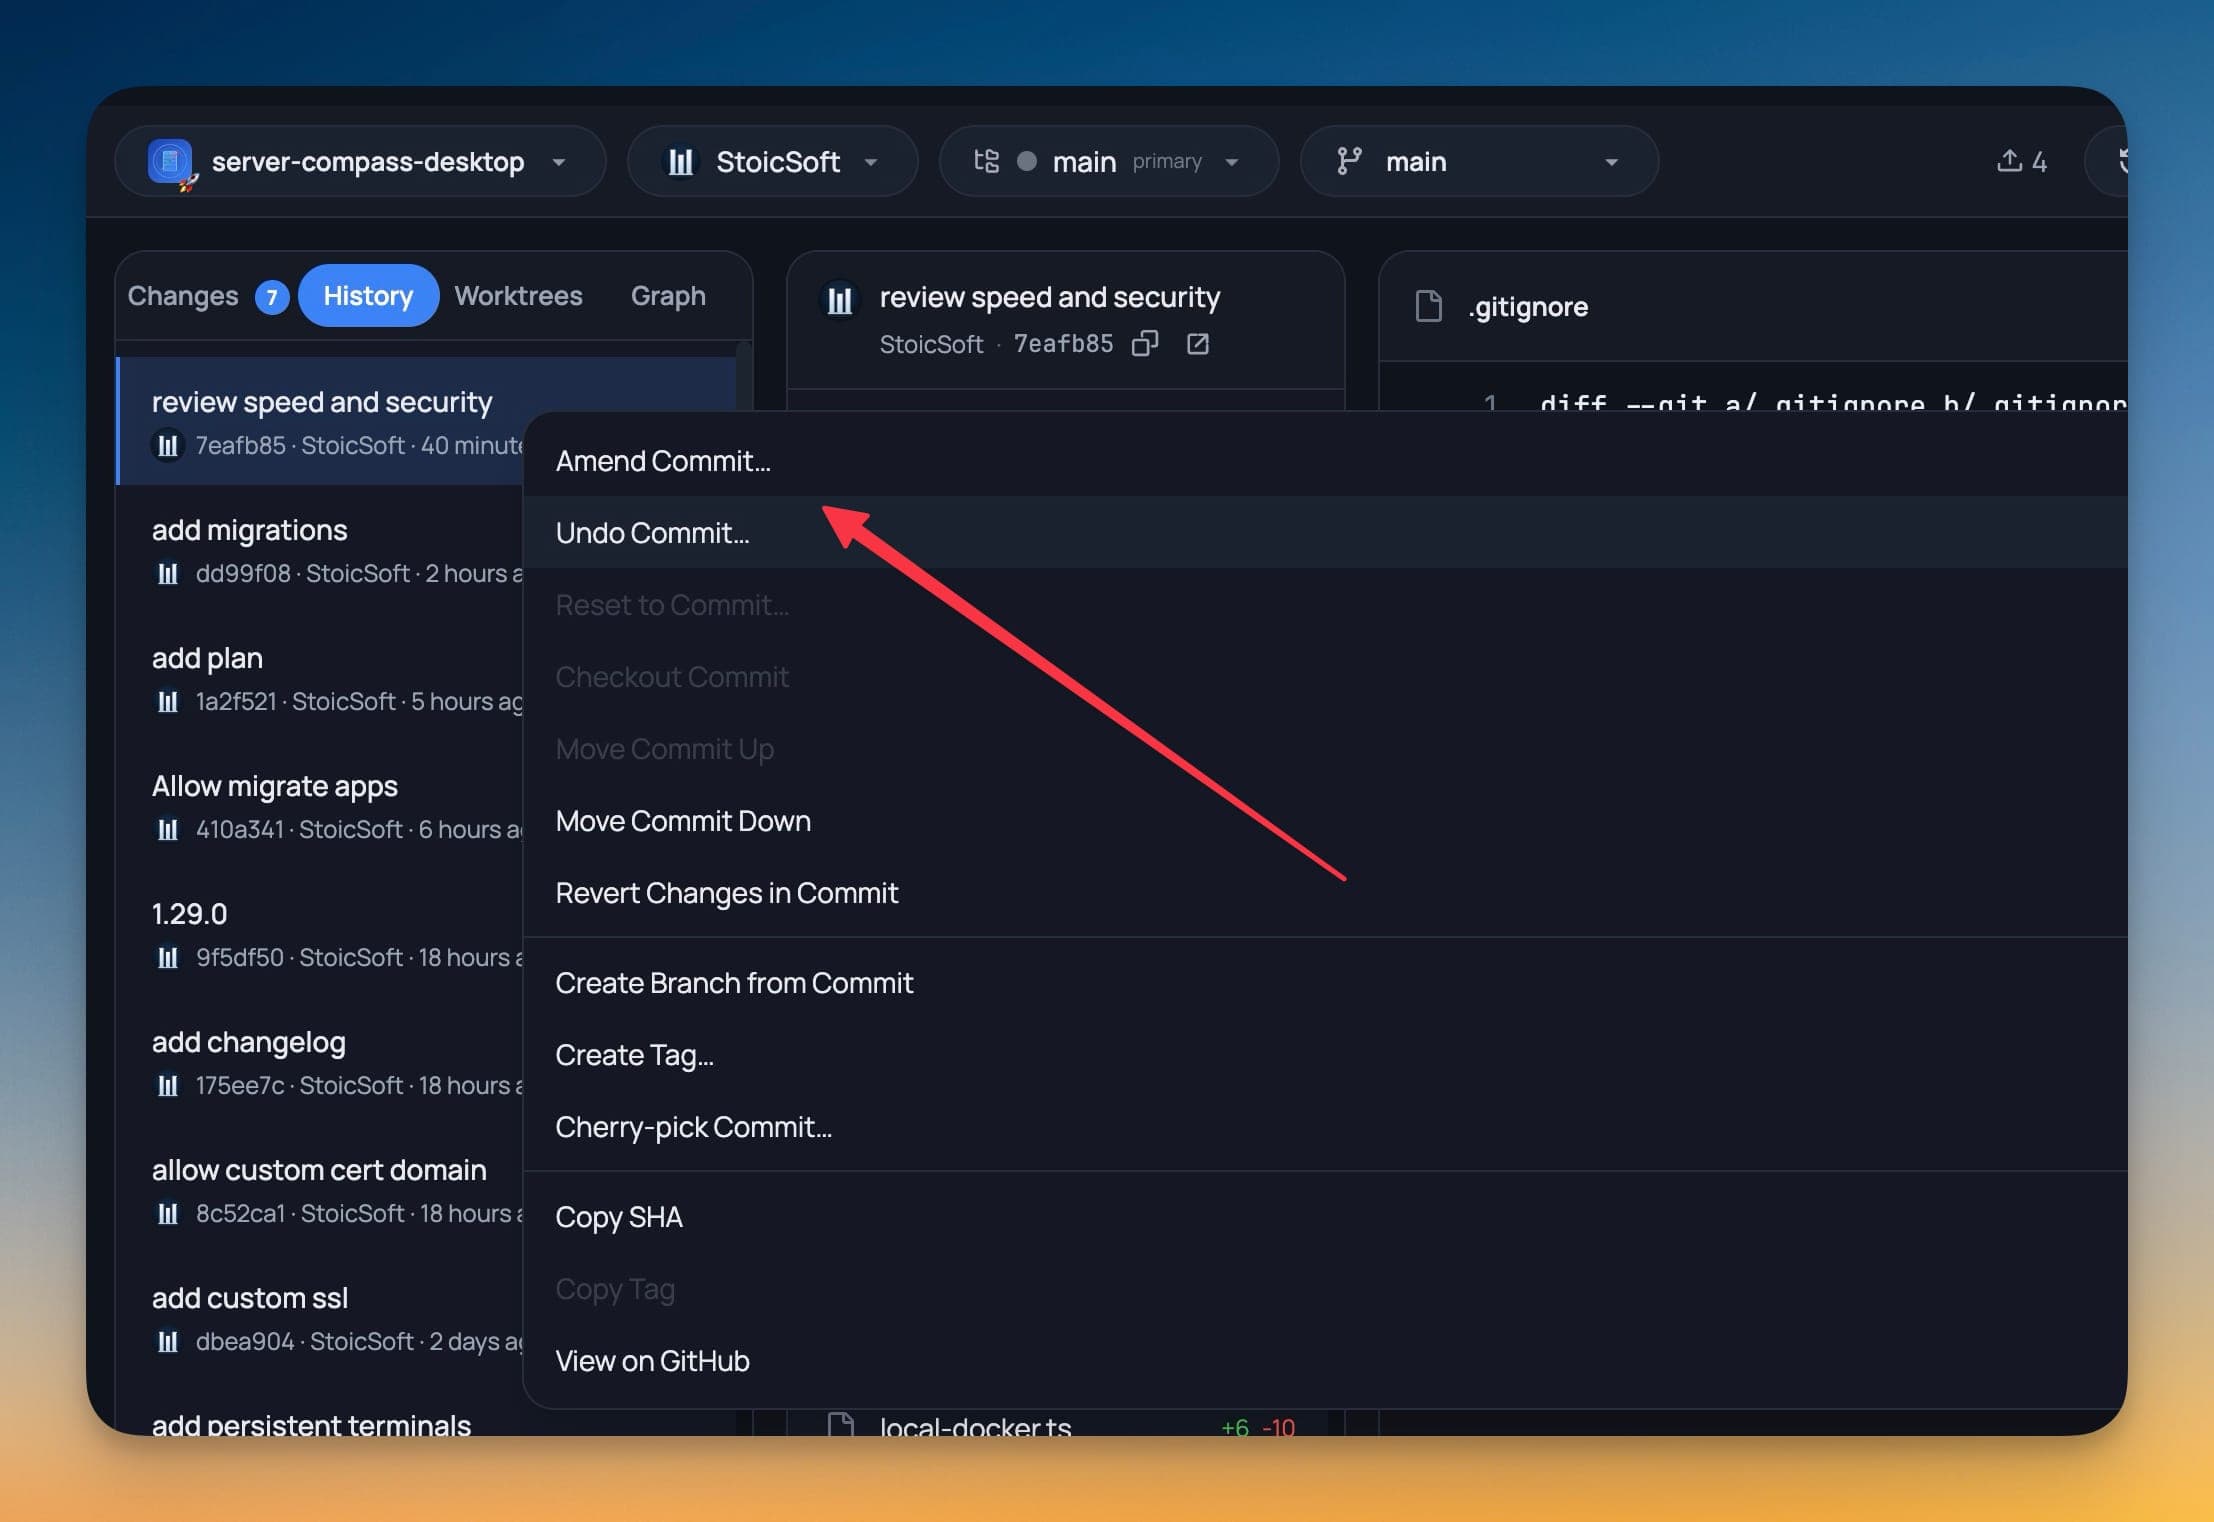
Right-click any commit in the history for the actions you would otherwise script: copy its hash or message, create a branch or tag from it, revert it, cherry-pick it, or reorder it. Reordering runs an interactive rebase that aborts itself cleanly if anything goes wrong, so a mistake leaves the repository where it started.
Accounts
Each repository can use a different Git account — GitHub or GitLab — with its own avatar in the client header so you always know who you are about to push as.
No Git Experience Required
If you're new to git, the Git Client is a great place to start. Each action has a clear label, and you can always undo a commit if you make a mistake. As you use it, you'll naturally learn the git workflow — staging, committing, pushing, branching — without having to memorize commands.