Run an AI Agent
Start Claude Code, Codex, or Gemini and watch it build your project.
Running an AI coding agent in 1DevTool is straightforward: you open a terminal, pick an agent, type a prompt, and the agent gets to work. This page walks through everything that happens in that process, including the tools that make it easier to manage agents as they run.

Starting an Agent
When you add a new terminal and select an agent type (Claude Code, Codex, or Gemini CLI), the terminal opens automatically in your project's root folder. You don't need to navigate there — 1DevTool uses the folder you set when you added the project to the sidebar.
The agent starts and displays its welcome prompt, waiting for your first instruction.
Typing a Prompt
Click inside the terminal to focus it, then type your prompt as you would in any terminal. AI agents accept natural language, so you don't need to remember any special syntax. Just describe what you want:
Add a search bar to the homepage that filters the product list in real time
Press Enter to send the prompt. The agent reads your codebase, plans its approach, and begins making changes. You can watch it work in real time — it shows the files it's editing and the commands it's running.
The Agent Input Overlay
AI agent terminals use a special full-screen text interface (called a TUI) that takes over normal keyboard input. This means standard cursor movement, copy-paste, and multi-line editing can behave unexpectedly inside the terminal itself.
The Agent Input Overlay solves this. It gives you a separate, comfortable text box outside the terminal where you can write your prompt in peace, then send it with one click.
How to use it:
- Press
Cmd+I(Mac) orCtrl+I(Windows/Linux) — the overlay opens as a floating panel above the terminal. - Type your prompt. You can use all normal text editing shortcuts, paste long blocks of text, and write multi-line prompts without anything breaking.
- Click Send or press
Cmd+Enter/Ctrl+Enter. The prompt is delivered to the agent.
The overlay is especially useful for longer instructions where you want to think through what you're asking before committing to it.
Prompt History
Every prompt you've sent to an agent is saved in your prompt history. Press Cmd+Up (Mac) or Ctrl+Up (Windows/Linux) to scroll back through previous prompts and reuse or edit them.
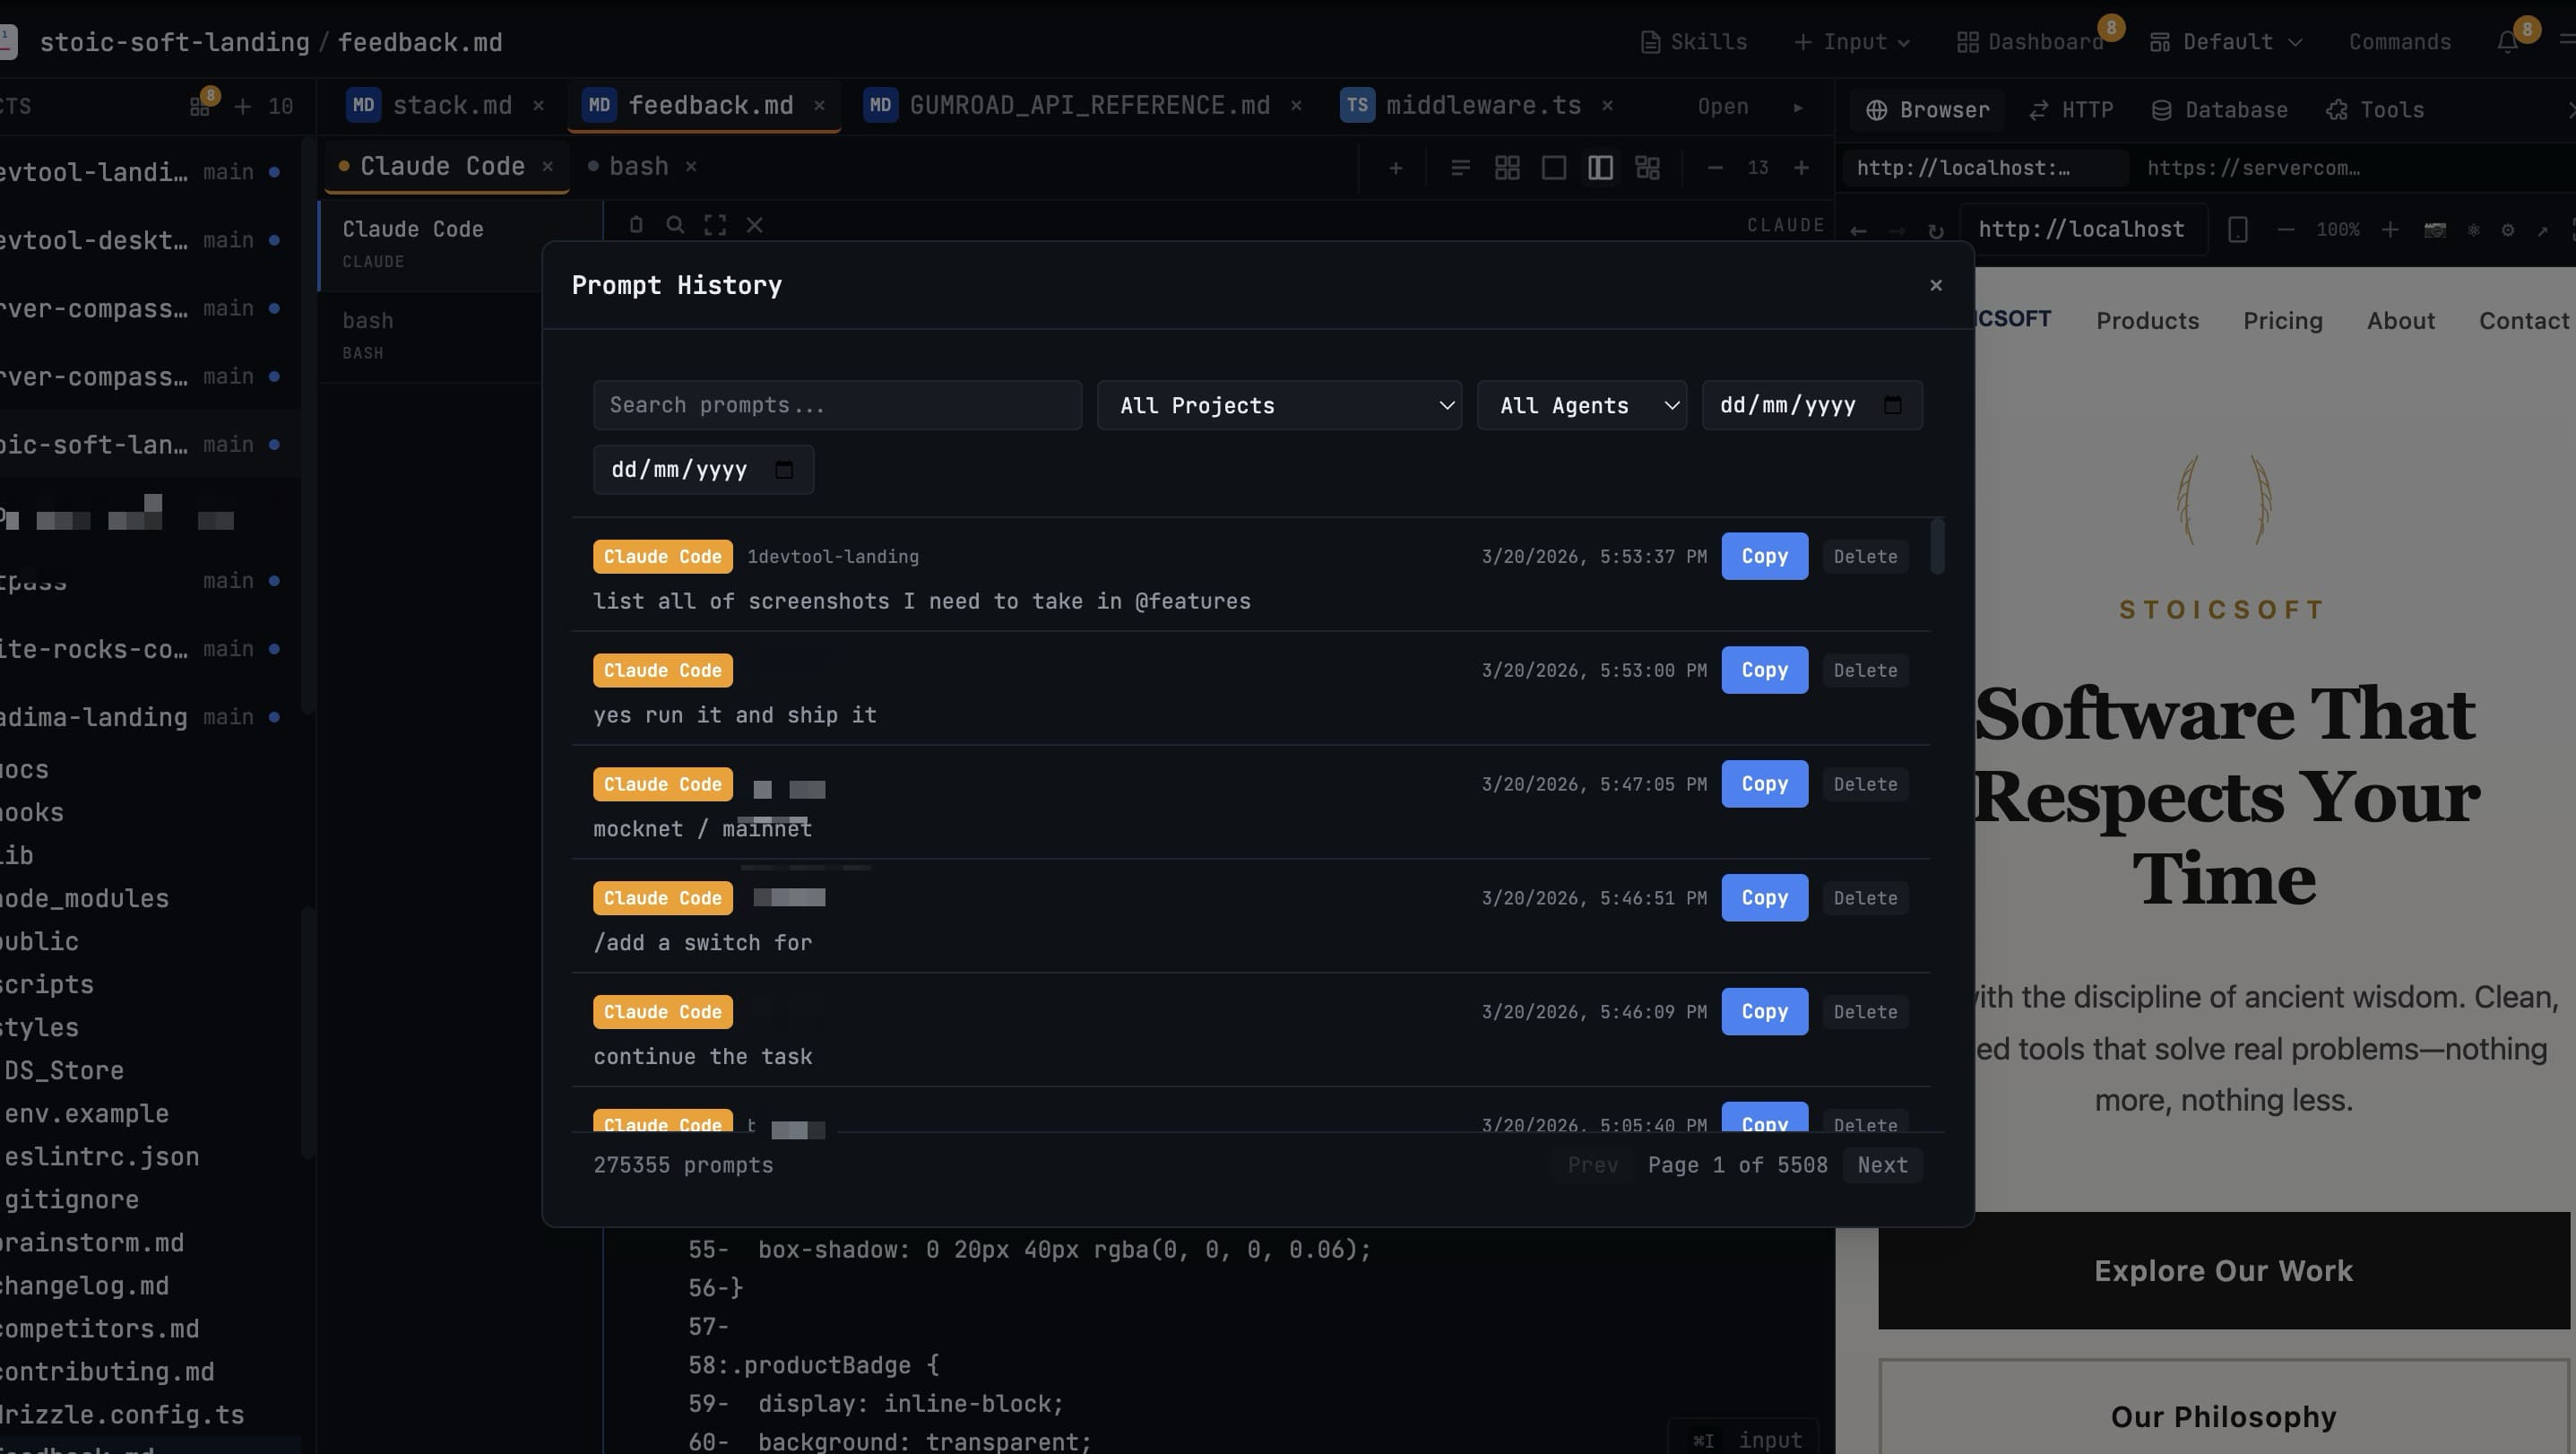
This is handy when you're iterating on a task and want to re-send a slightly modified version of a prompt you already typed, without rewriting it from scratch.
Press Cmd+Down / Ctrl+Down to move forward through the history again.
Hover Preview
When you have multiple terminals open, you can hover your mouse over any terminal to see a live preview of its current output — without switching focus to it.
The preview appears as a tooltip or mini-window. This means you can stay focused on your active terminal (maybe you're reviewing code or typing a prompt) while keeping an eye on a running agent in another panel. As soon as the agent finishes or needs input, you'll see it in the preview.
Running Multiple Agents Simultaneously
This is the feature that makes 1DevTool fundamentally different from running AI agents in a regular terminal app.
You can have several agents running at the same time — each in its own terminal panel, each working on a different part of your project. For example:
- Top-left: Claude Code is adding a new API endpoint
- Top-right: Codex is writing tests for the feature it built earlier
- Bottom-left: A Bash terminal is running your dev server so you can see changes live
- Bottom-right: A Browser panel shows the app as it updates
All four are active simultaneously. You can send a new prompt to any agent at any time, check the output of another, and watch your app update in the browser — all without switching windows or losing context.
The 2×2 grid layout is specifically designed for this kind of parallel work. See Layout Modes for how to set it up.