Orchestration अवलोकन
एक ही job पर कई AI agents लगाएं — खुले हुए terminal में delegate करें, एक team बनाएं, या headless workers का swarm चलाएं।
एक AI agent चलाना उपयोगी है। लेकिन कई ऐसे agents जो एक-दूसरे को काम सौंप सकें, यह एक अलग तरह का leverage है: एक agent feature लिखता है, दूसरा उसकी समीक्षा करता है, तीसरा test लिखता है, और यह सब आप एक ही window में देखते हैं।
1DevTool इसे orchestration कहता है, और यह कई रूपों में आता है। इनमें एक ही vocabulary और एक cockpit है, इसलिए एक सीखने से बाकी भी समझ में आ जाते हैं।
रूप
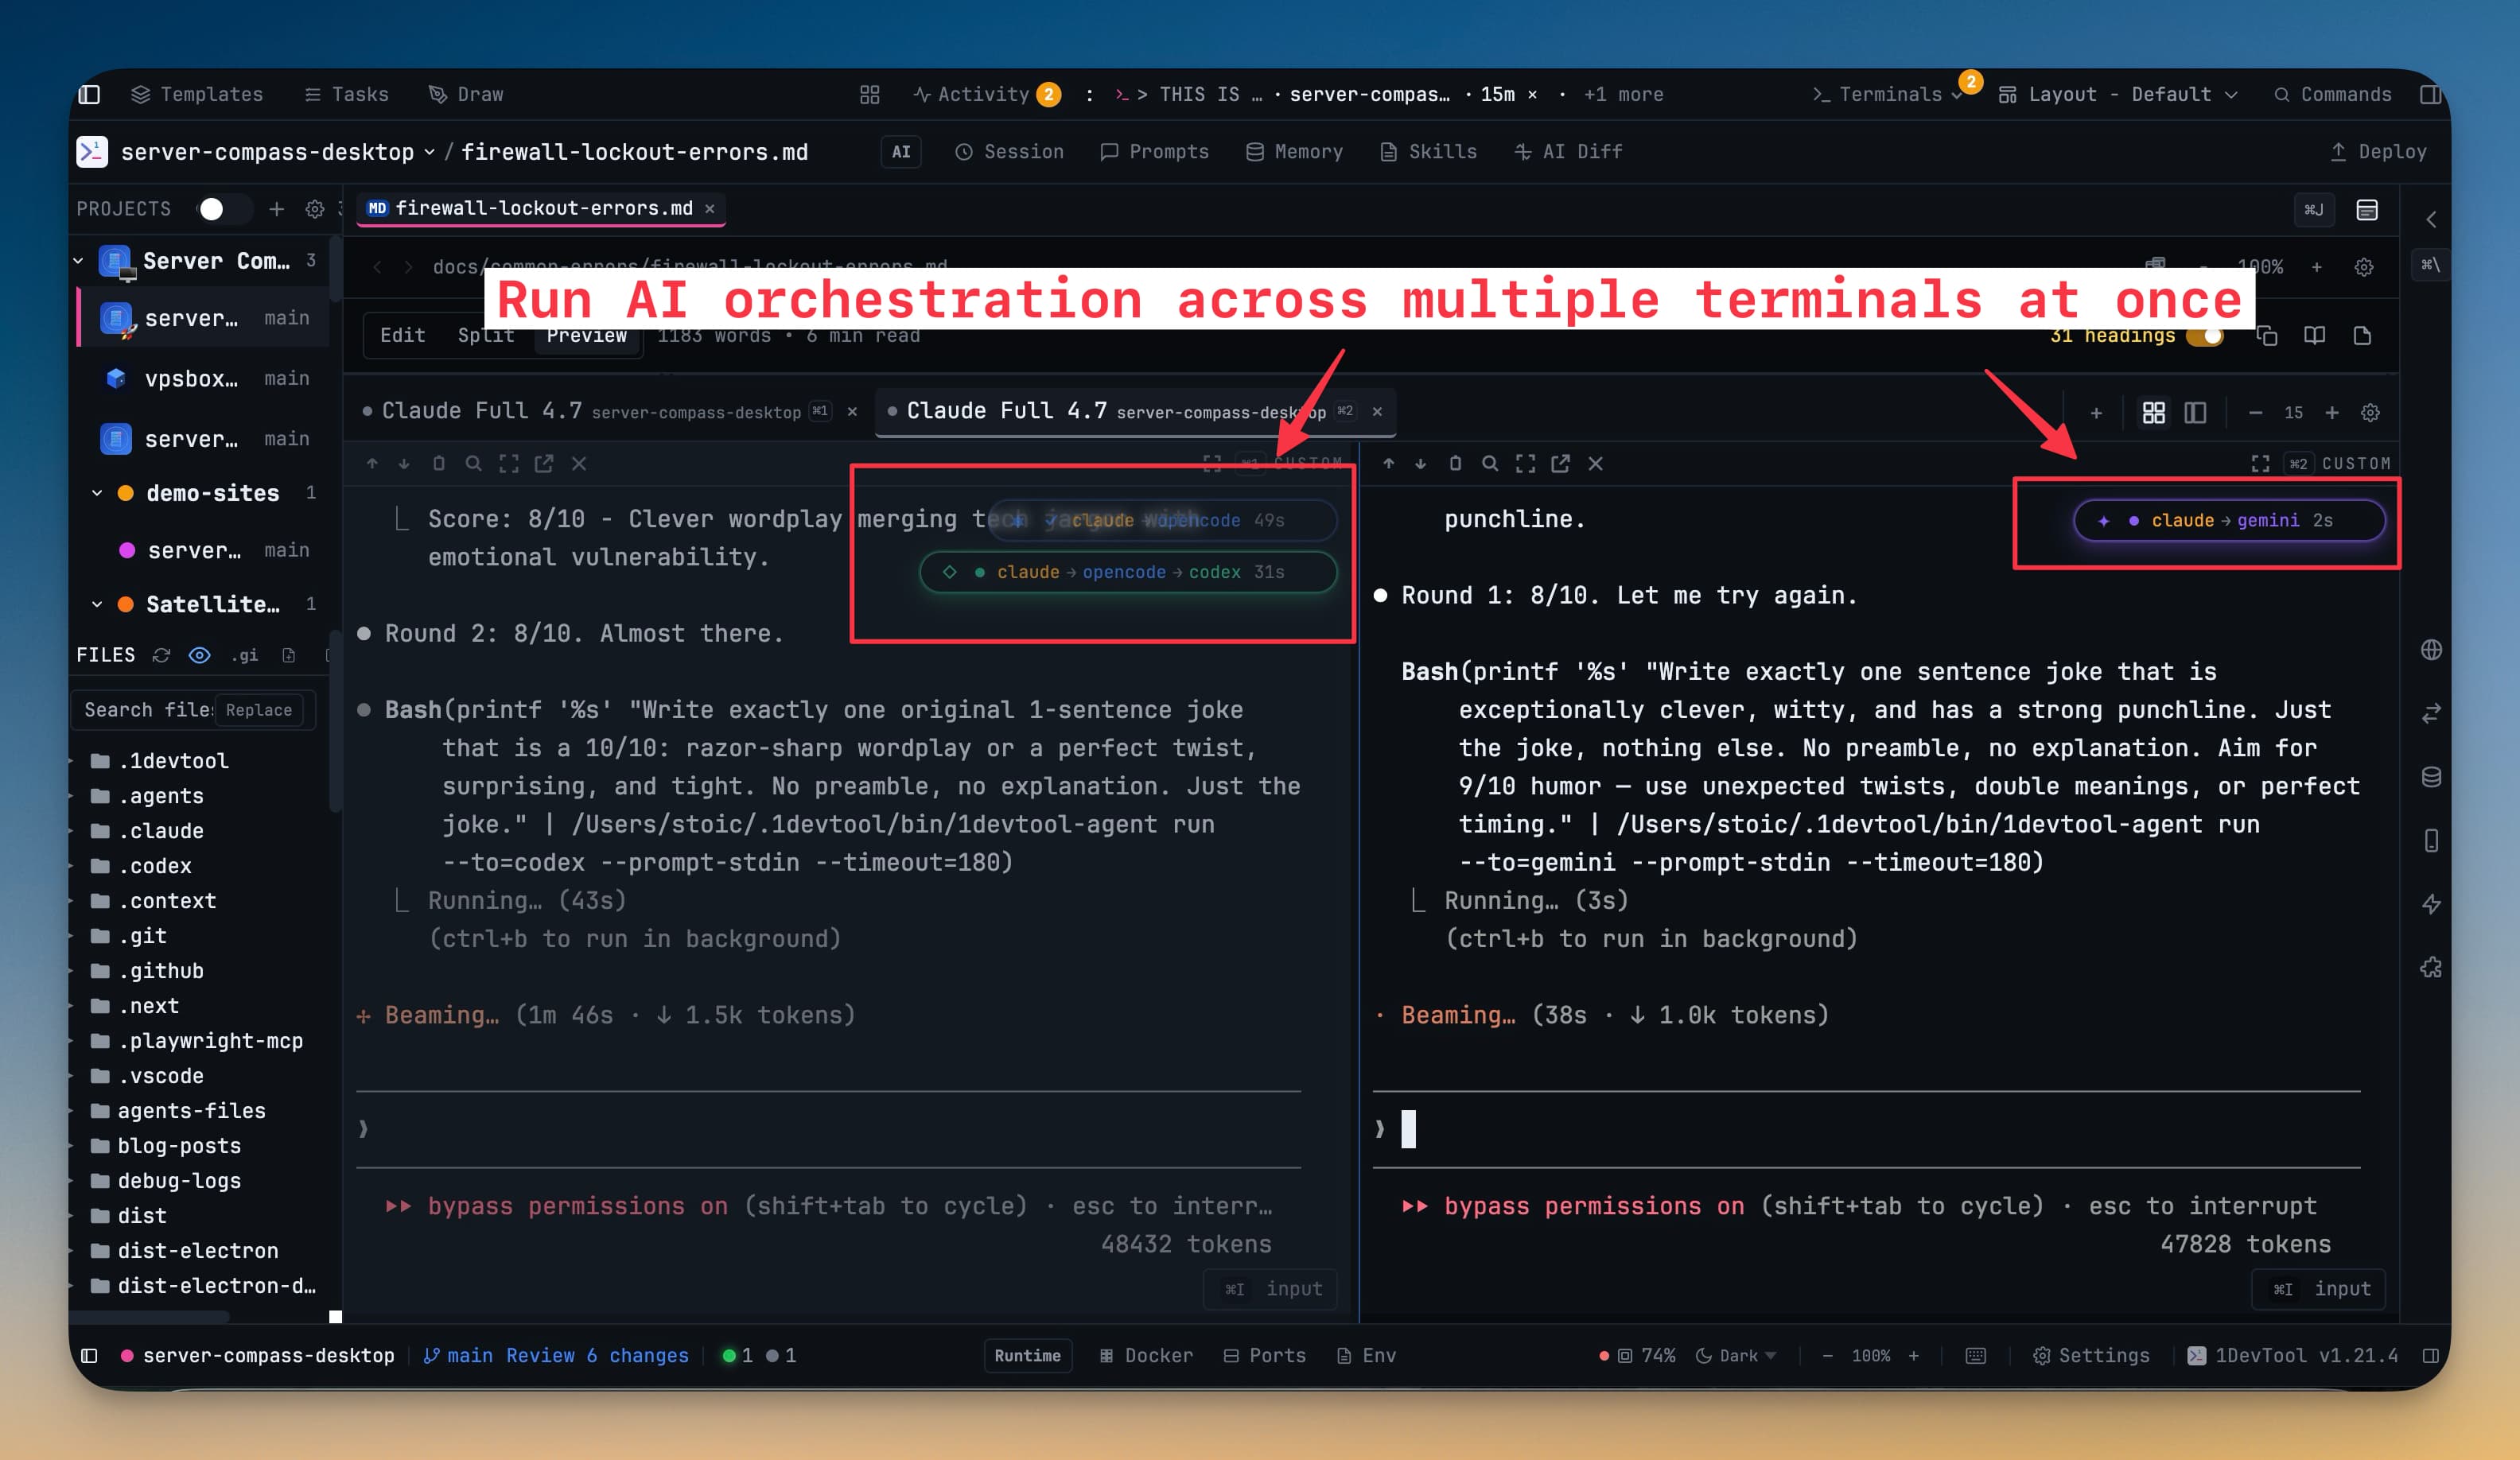
Linked terminals सबसे छोटी unit हैं। आप @mention का उपयोग करके किसी AI terminal को tag करते हैं जो पहले से खुला है, और आपका prompt उसी live agent तक पहुंच जाता है, नए agent को spawn किए बिना। जो agent इसे प्राप्त करता है, वह सीधे आपको जवाब दे सकता है। Links projects की सीमाओं को पार कर सकते हैं, इसलिए API पर काम कर रहा terminal frontend में बैठे agent को काम सौंप सकता है। Linked Terminals देखें।
Agent Teams एक नामित group हैं जो एक workspace और एक goal साझा करते हैं। एक team में members, एक live status, और एक message rail होती है जो अपने agents के बीच hand-offs दिखाती है। Agent Teams & Swarms देखें।
Agent hierarchies एक team को chain of command देती हैं: managers और subordinates वाली seats, जहां एक agent केवल अपने subordinates को task दे सकता है और results ऊपर report करता है। यह chart सुझाव नहीं, बल्कि enforced है। Agent Hierarchy देखें।
Pipelines क्रमबद्ध stages हैं जो काम आगे बढ़ाते हैं — research, फिर implement, फिर review — quality gates के साथ जो किसी stage को एक खराब handoff को polish करने के बजाय reject करने देते हैं। Pipeline देखें।
Swarms headless workers हैं — कोई terminal नहीं, कोई window नहीं, बस agent की N copies एक brief को sandbox में process करती हैं और report करती हैं। Swarm workers को sandboxed में run करना ज़रूरी है, इसलिए आज केवल Codex, Claude, और Cursor ही swarm targets हो सकते हैं; किसी और को मांगने पर upfront refusal मिलता है, reason के साथ, launch के एक second बाद silently fail होने के बजाय।
इसे बनाना
आपको dialogs के ढेर के ज़रिए team describe करने की ज़रूरत नहीं है। The Builder एक canvas है: palette rail से agents को drag करें, उन्हें wire करें, inspector में किसी भी seat या wire को edit करें, और Cmd+Z / Ctrl+Z से कुछ भी undo करें। Hierarchy, Pipeline, और Router को Cmd+1 / Cmd+2 / Cmd+3 पर अपना mode मिलता है, और हर consequential action — Apply, Start, एक role हटाना — पहले preview देता है कि वह क्या करेगा।
आप team को एक sentence में describe करके AI agent से chart draft करवा सकते हैं, फिर आए हुए result को edit कर सकते हैं। The Builder देखें।
सही विकल्प चुनना
Prompt लिखें और Auto को decide करने दें: Agent Input का mode control आपके type किए text को पढ़ता है, एक pattern लागू करता है, और आपको बताता है कि क्यों (Using Pipeline · you wrote "then"). जब यह unsure होता है तो guess करने के बजाय पूछता है, और किसी mode को खुद click करने से यह lock हो जाता है।
Pattern Guide — उस control के पास का ? — Team, Swarm, Hierarchy, Pipeline और Mesh को side by side रखता है, उस एक verb के साथ जो हर एक को दूसरों से अलग करता है।
इसे देखने की जगह
Mission Control cockpit है। यह workspace में आपके terminals के ऊपर बैठता है, dialogs में three clicks गहराई पर नहीं, और तब तक कुछ render नहीं करता जब तक project में कुछ live न हो। यह agent pills की rail दिखाता है, उनके status और context usage के साथ, जो counters matter करते हैं (awaiting reply, stuck, quarantined), और one-click actions जैसे nudge, relink, या पूरी team को resume करना। Mission Control देखें।
The Team Map आपके agents को cards के रूप में और उनके बीच के links को edges के रूप में draw करता है। एक terminal को दूसरे पर drag करें ताकि उन्हें link किया जा सके; किसी edge पर click करें ताकि unlink हो। Team Map देखें।
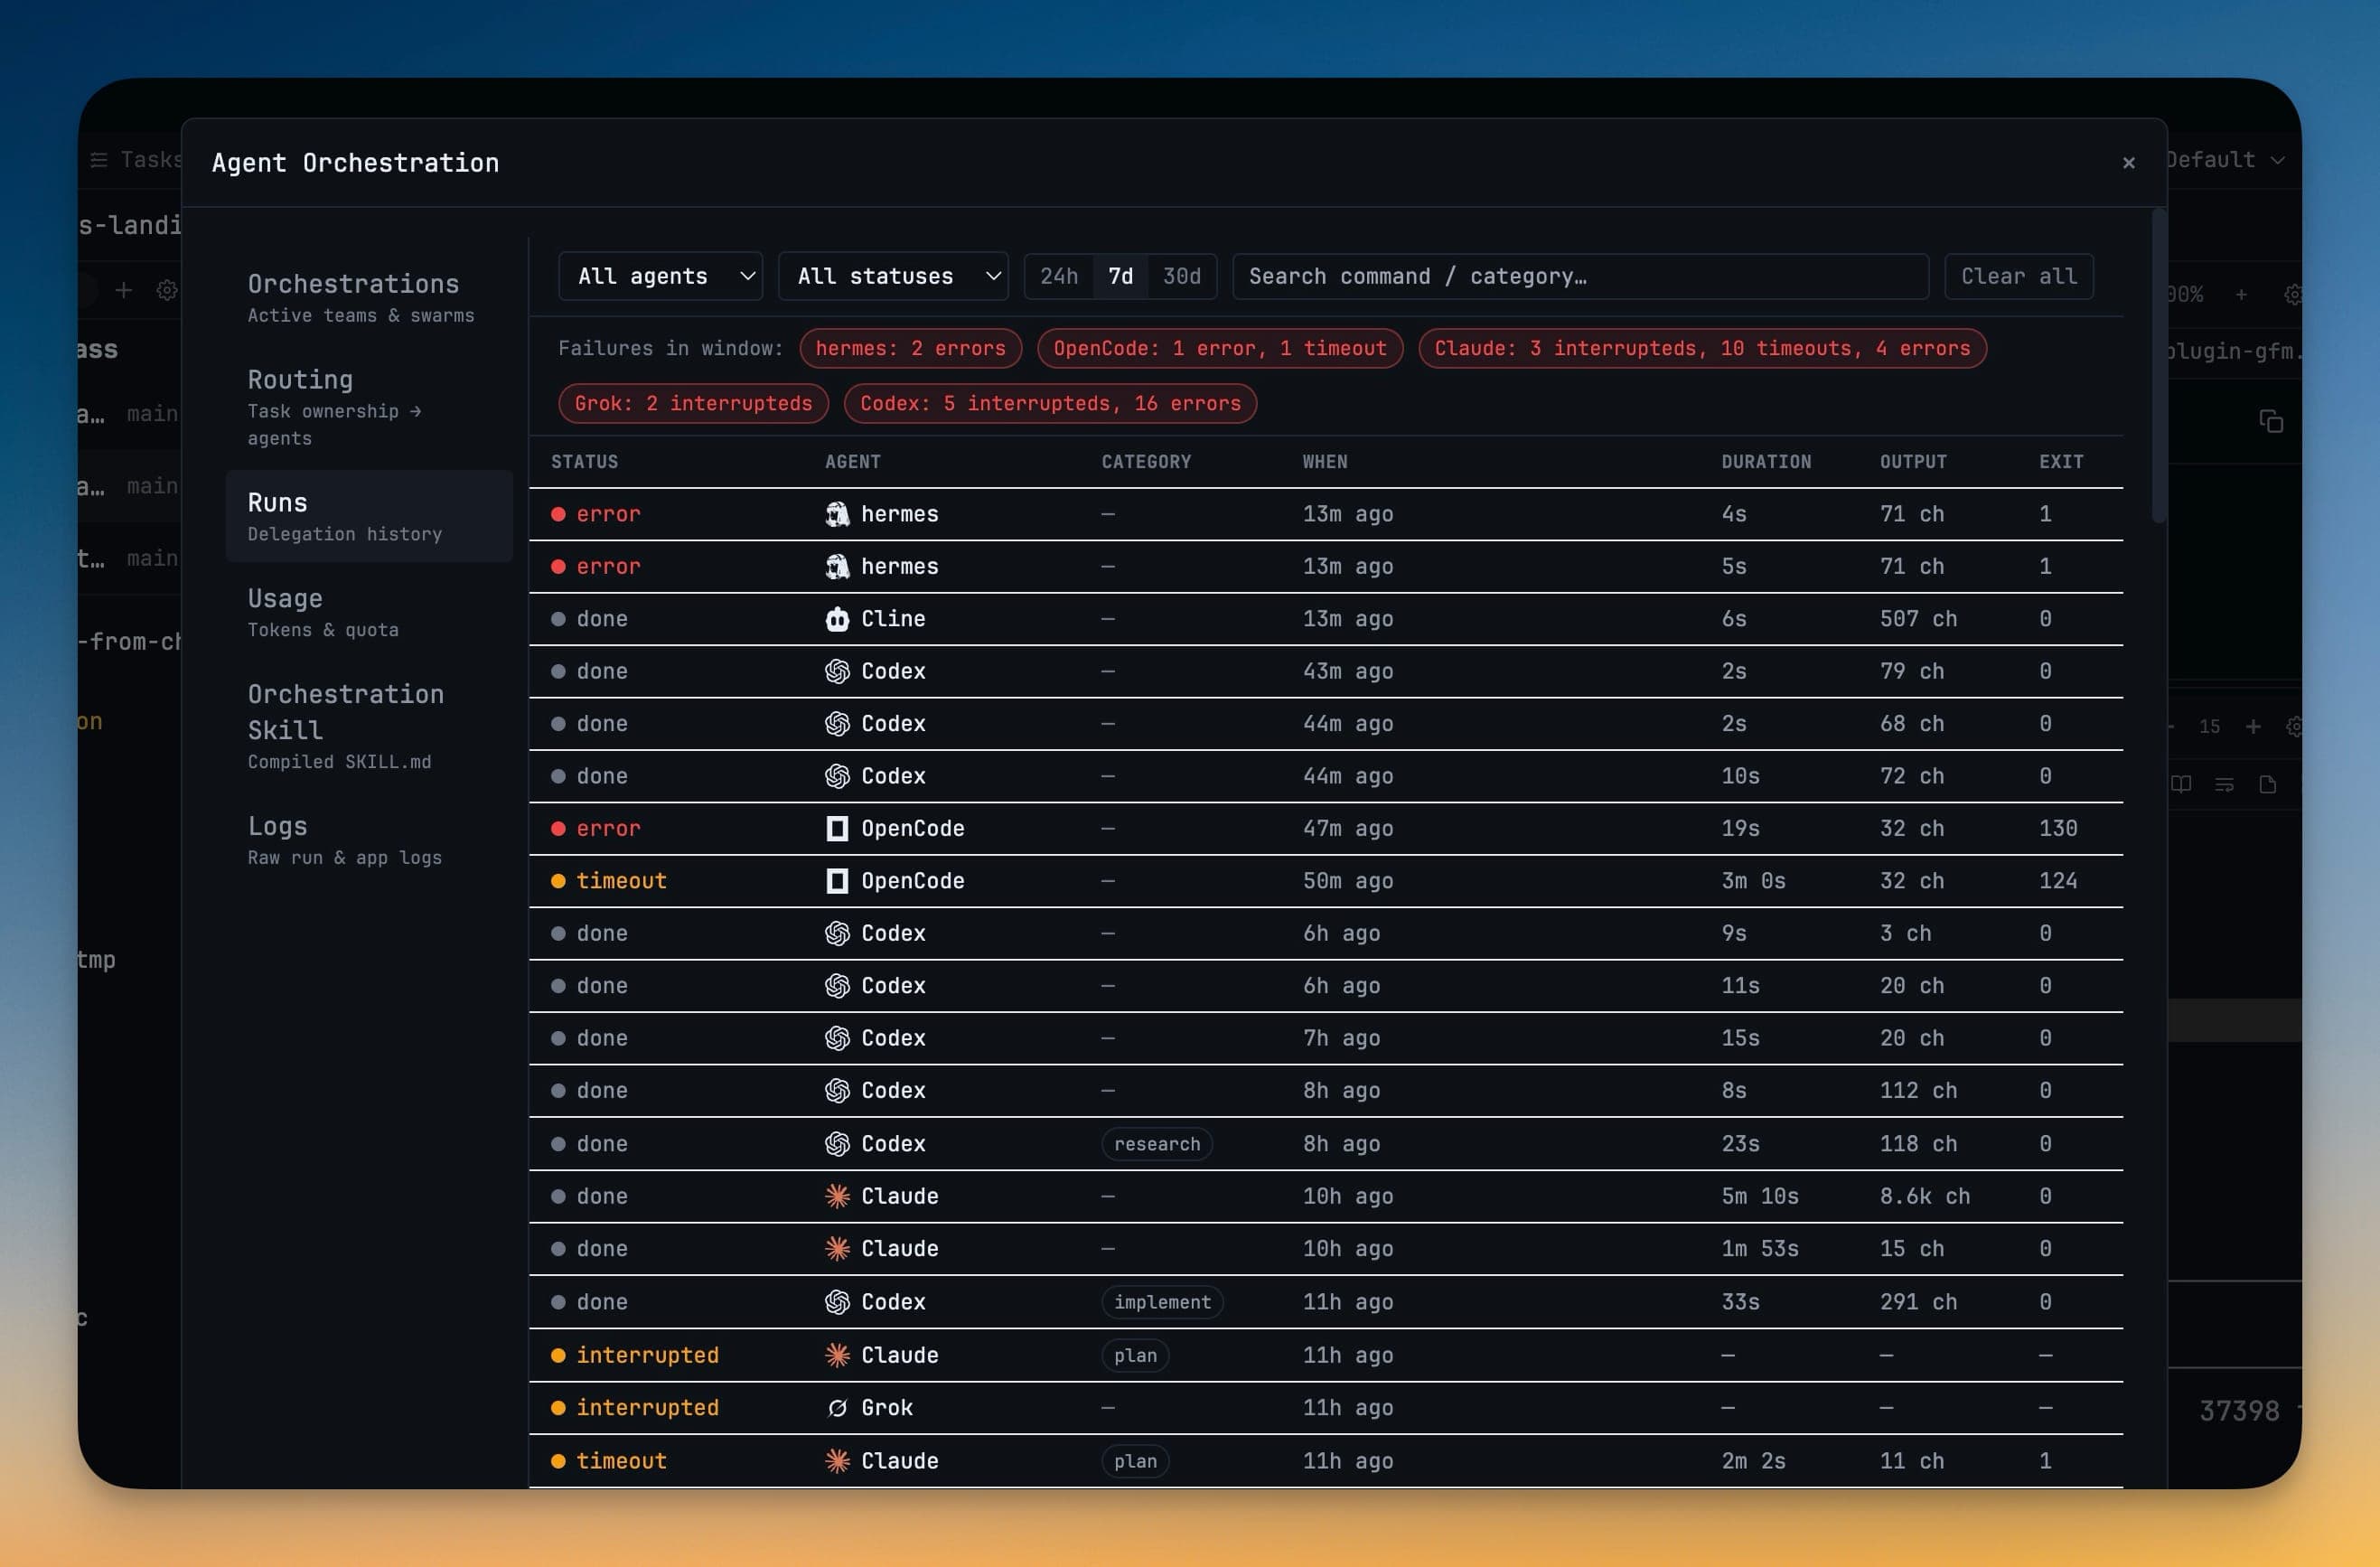
The Orchestration Dashboard Builder पर खुलता है, और historical record भी है — teams, runs, logs, routing, per-team token usage, और compiled skill जो आपके agents को दी जाती है। Orchestration Dashboard देखें।
विश्वसनीय Delivery
Multi-agent work को उपयोगी या मनमुटाव करने वाला बनाने वाली चीज़ यह है कि आपका भेजा हुआ message वास्तव में पहुंचा या नहीं। 1DevTool इसे जानबूझकर strict रखता है।
एक message को delivered तभी mark किया जाता है जब receiving agent ने साबित कर दिया हो कि उसने वही exact text accept किया है — या तो वह उस agent के session में real message के रूप में दिखे, या उसका composer visibly आपके text को hold करे और फिर clear करे। Terminal तक पहुंचने वाले keystrokes proof नहीं हैं, और पहले ऐसा माना जाता था।
जब acceptance साबित नहीं होती, तो message को delivery-unconfirmed mark किया जाता है और जानबूझकर इसे retry नहीं किया जाता। दूसरी बार Enter दबाने से वही task दो बार run हो सकती है, इसलिए यह फैसला आप पर छोड़ दिया जाता है। एक reply केवल उसी proof के बाद अपने जवाब देने वाले request को close करती है, इसलिए एक unconfirmed reply outstanding work को कभी भी finished नहीं दिखा सकती।
Permissions स्वेच्छा से हैं
Agents एक-दूसरे का काम पढ़ सकते हैं — recent transcript, full transcript, terminal screen, notes — लेकिन ये सब अलग-अलग grants हैं, default में off, per link दिए जाते हैं। Grant dialog में हर agent का नाम आता है जिस तक content पहुंच सकता है, और यह साफ चेतावनी देता है कि terminal-screen read सिर्फ formatting हटाता है: keys, tokens, और .env output verbatim वापस आते हैं। Read Permissions देखें।
संबंधित
- Linked Terminals — खुले हुए agent को काम सौंपना
- Mission Control — live cockpit
- Agent Teams & Swarms — कई agents, एक काम
- Tasks — एक board जिस पर आपके agents वास्तव में काम कर सकते हैं